


Gripping Swords
or what grips can be used for what swords

We use the term ‘grip’ to refer to 1) the handle of a sword, 2) the action of holding a sword in our hands, 3) the particular way we are supposed to hold onto the sword in a fencing system. Naturally, the grip (1) needs to be of such a shape to allow us to grip (2) a sword in a way that achieves the desired grip (3). When talking about the shape of the grip (1), we should also account for the shape of the cross-guard and the pommel, as they too affect how we can grip (2) the sword.
We immediately see that the size of our hands can be a factor. This is a problem in historical fencing (i.e. HEMA), where the use of a heavy glove can effectively change the size of our hands and the type of grips (3) that we can use with the same sword. Trainers, thus, need to be made with a level of protection in mind. A trainer designed for solo practice can have the shape and size of its hilt designed to match historical swords. A trainer designed for heavy sparing, for which heavy gloves are needed, needs to allow space for the glove. Elements like finger-rings need to be larger, but grips also need to be longer to place the pommel at the base of the gloved palm.
The size of the hand is also a problem for the sharp-sword recreation market. A particular sword is usually manufactured in only one size. To facilitate the use by as many people as possible, the grip (1) is usually made to be a bit longer. But this impacts how we grip (2) the sword, and particular grips (3) for a given class of swords become unachievable. Conversely, there were situations when people complained that a sword had a grip (1) too short, not realising that the sword was designed historically with a particular grip (3) in mind that made use of that fact.
So we see that the perfect size and shape for a grip (1) depends on a lot of factors, some of which depend on the sword and some on the user. Here, it’s not my intent to prescribe ideal uses, but to go over possible grips (3). People should have these in mind and try them on their swords. Ultimately, if the balance of a sword is right, and you can use the appropriate grip (3) for a fencing tradition, you can use that sword in that tradition even if it wasn’t designed in particular for it.
First, I will use the same sword to showcase all the grip types I have in mind, describe them, and then showcase swords that are better suited for the grip types mentioned.
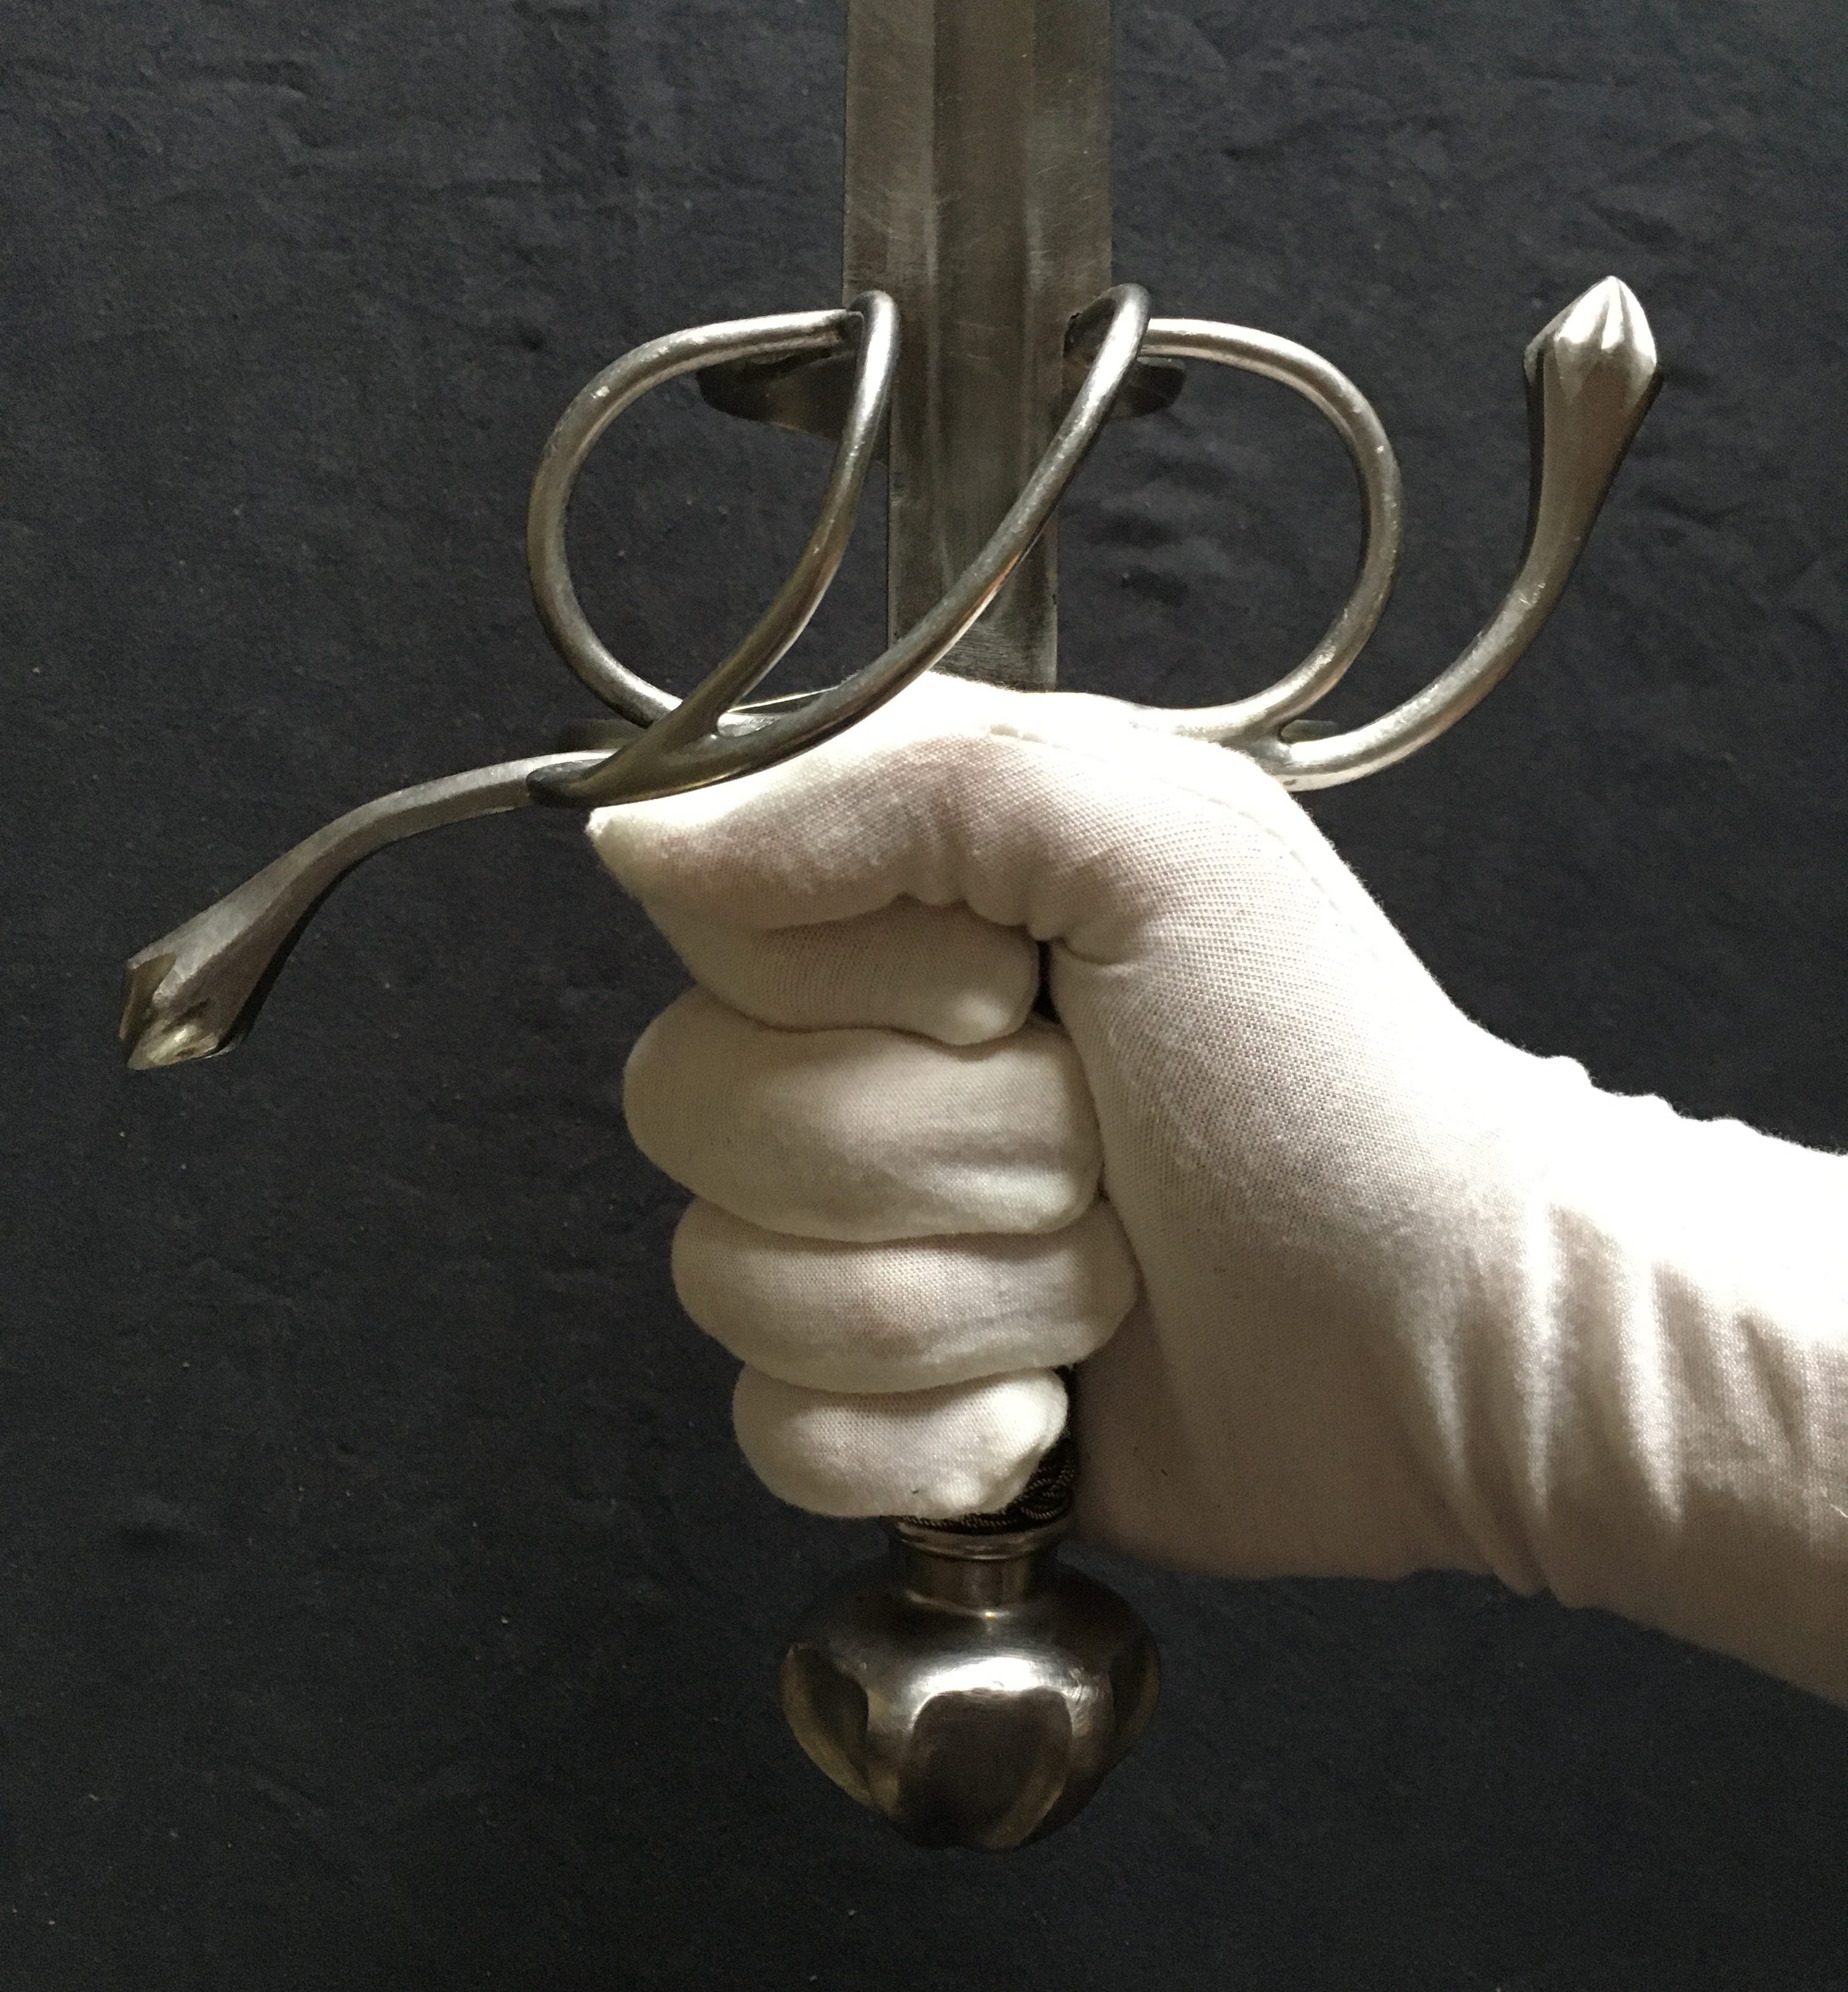
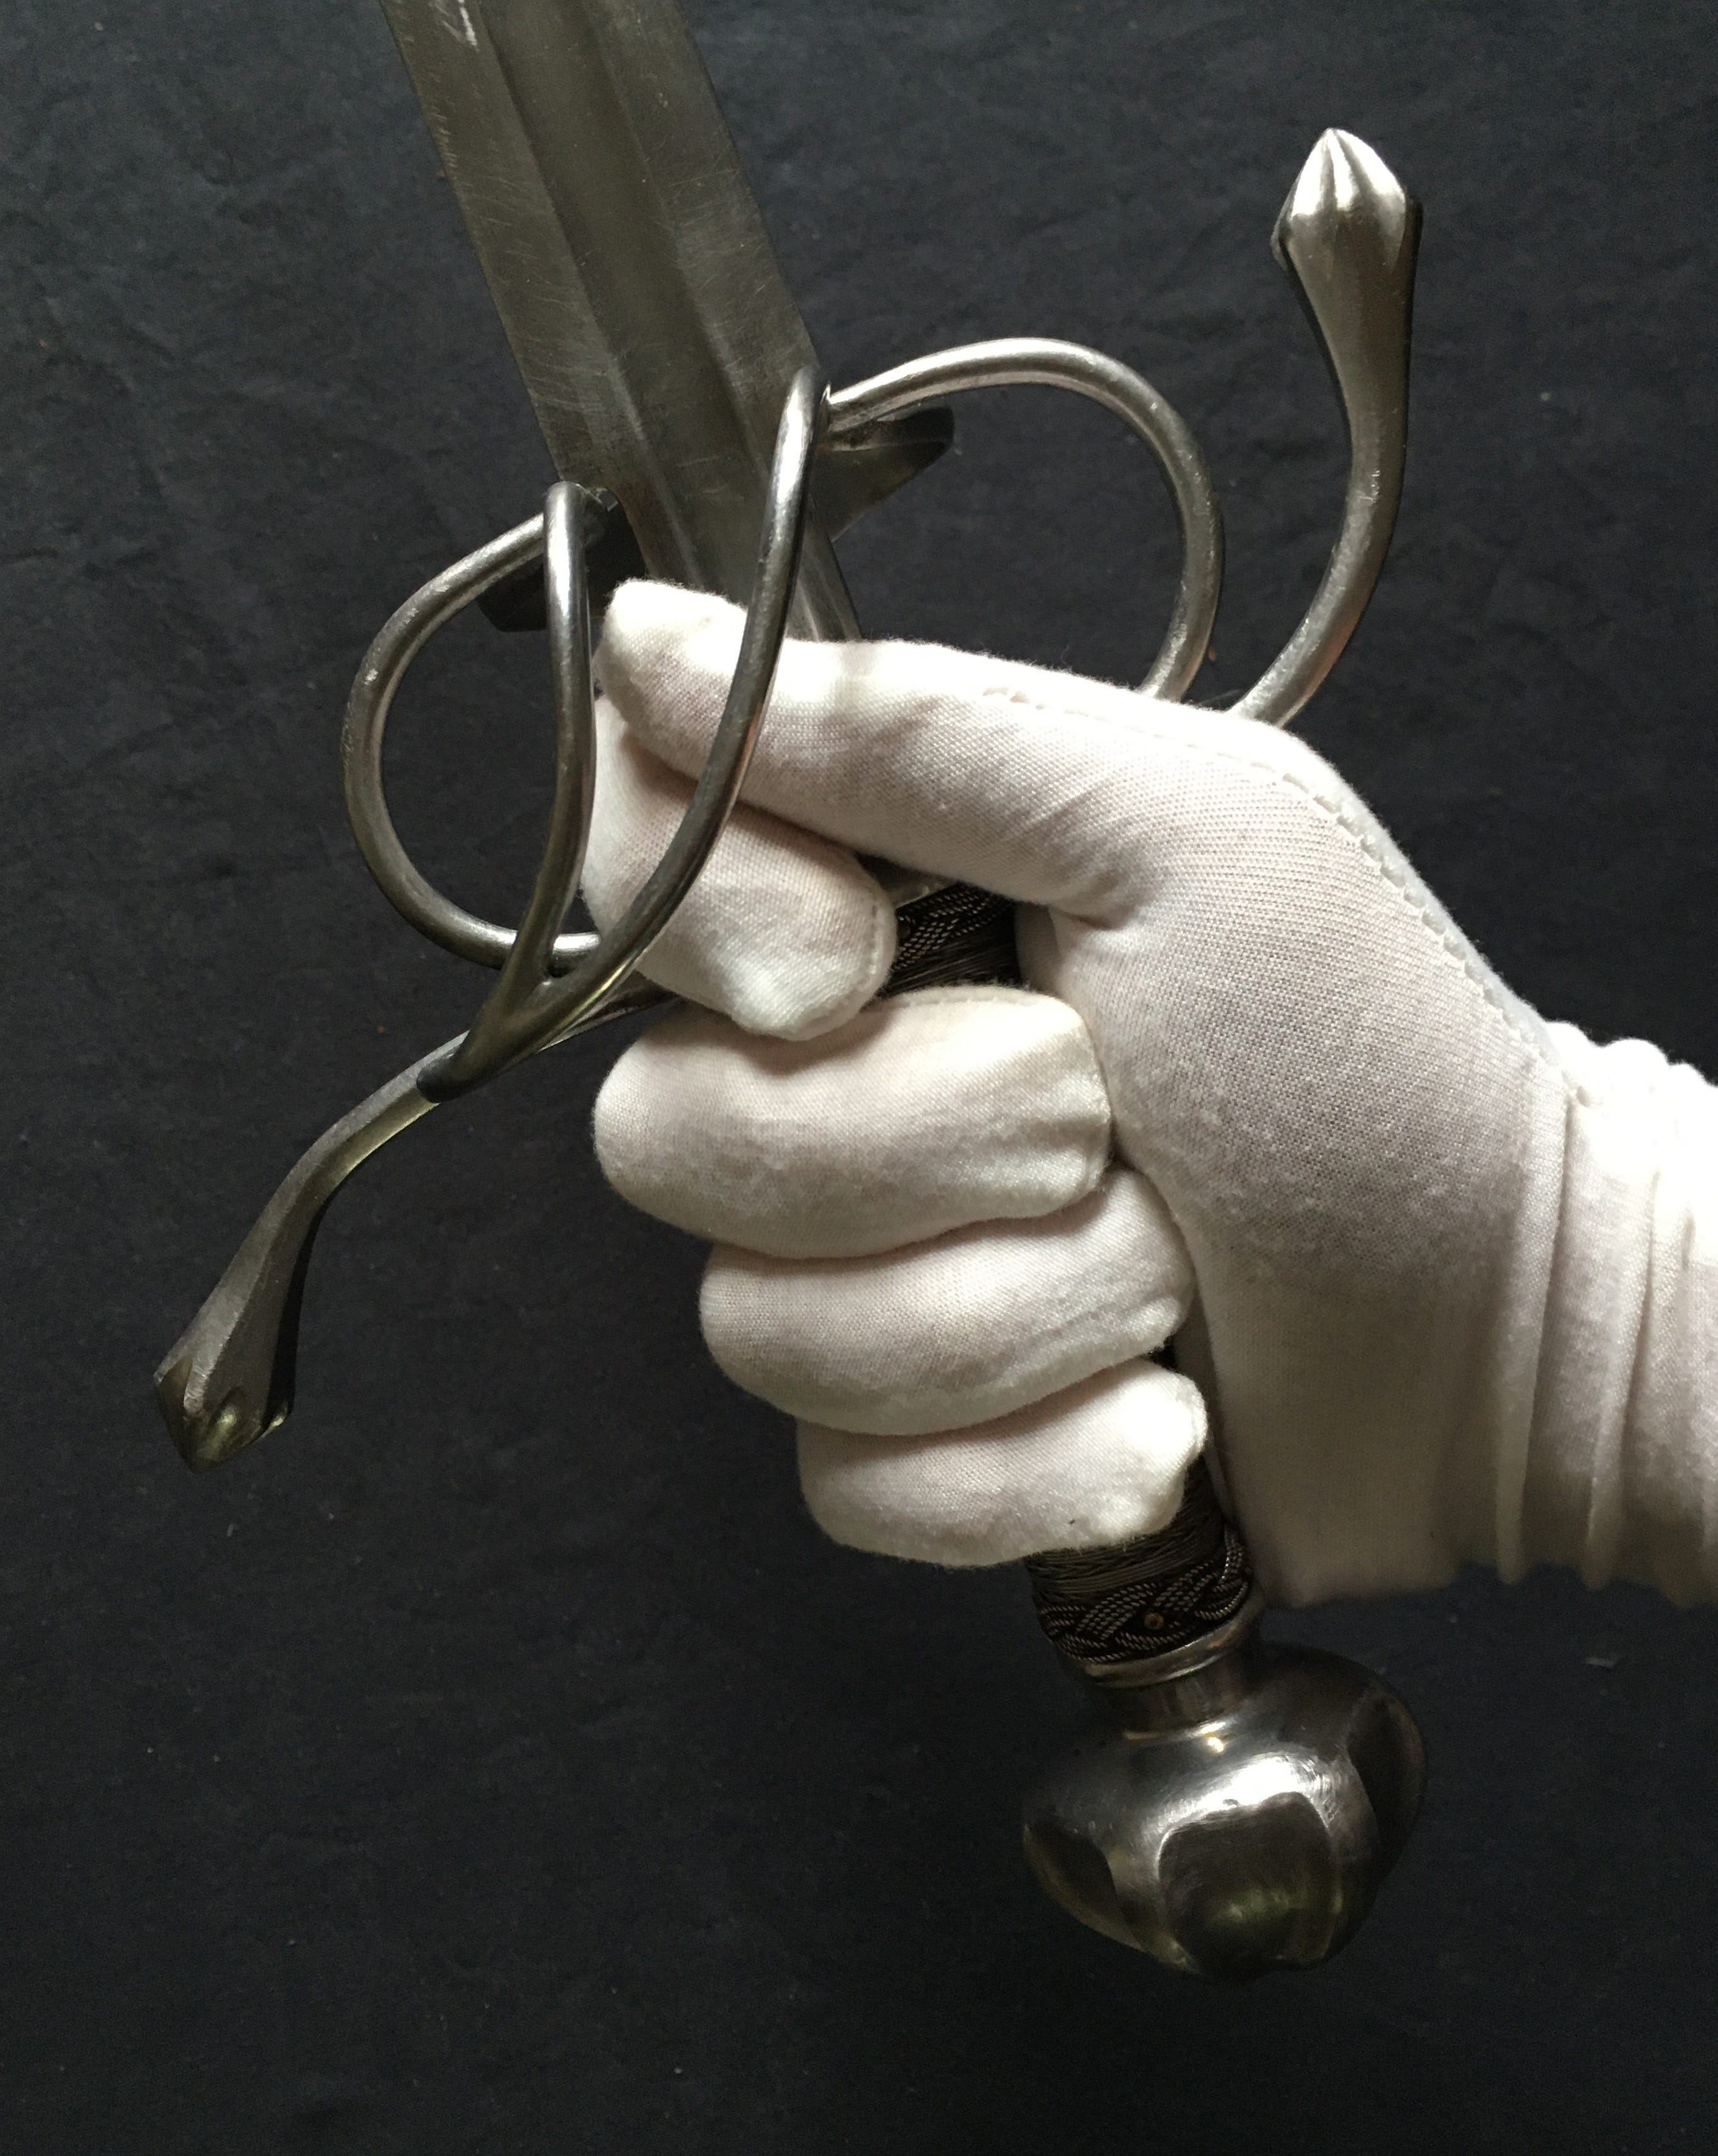
Hammer Grip
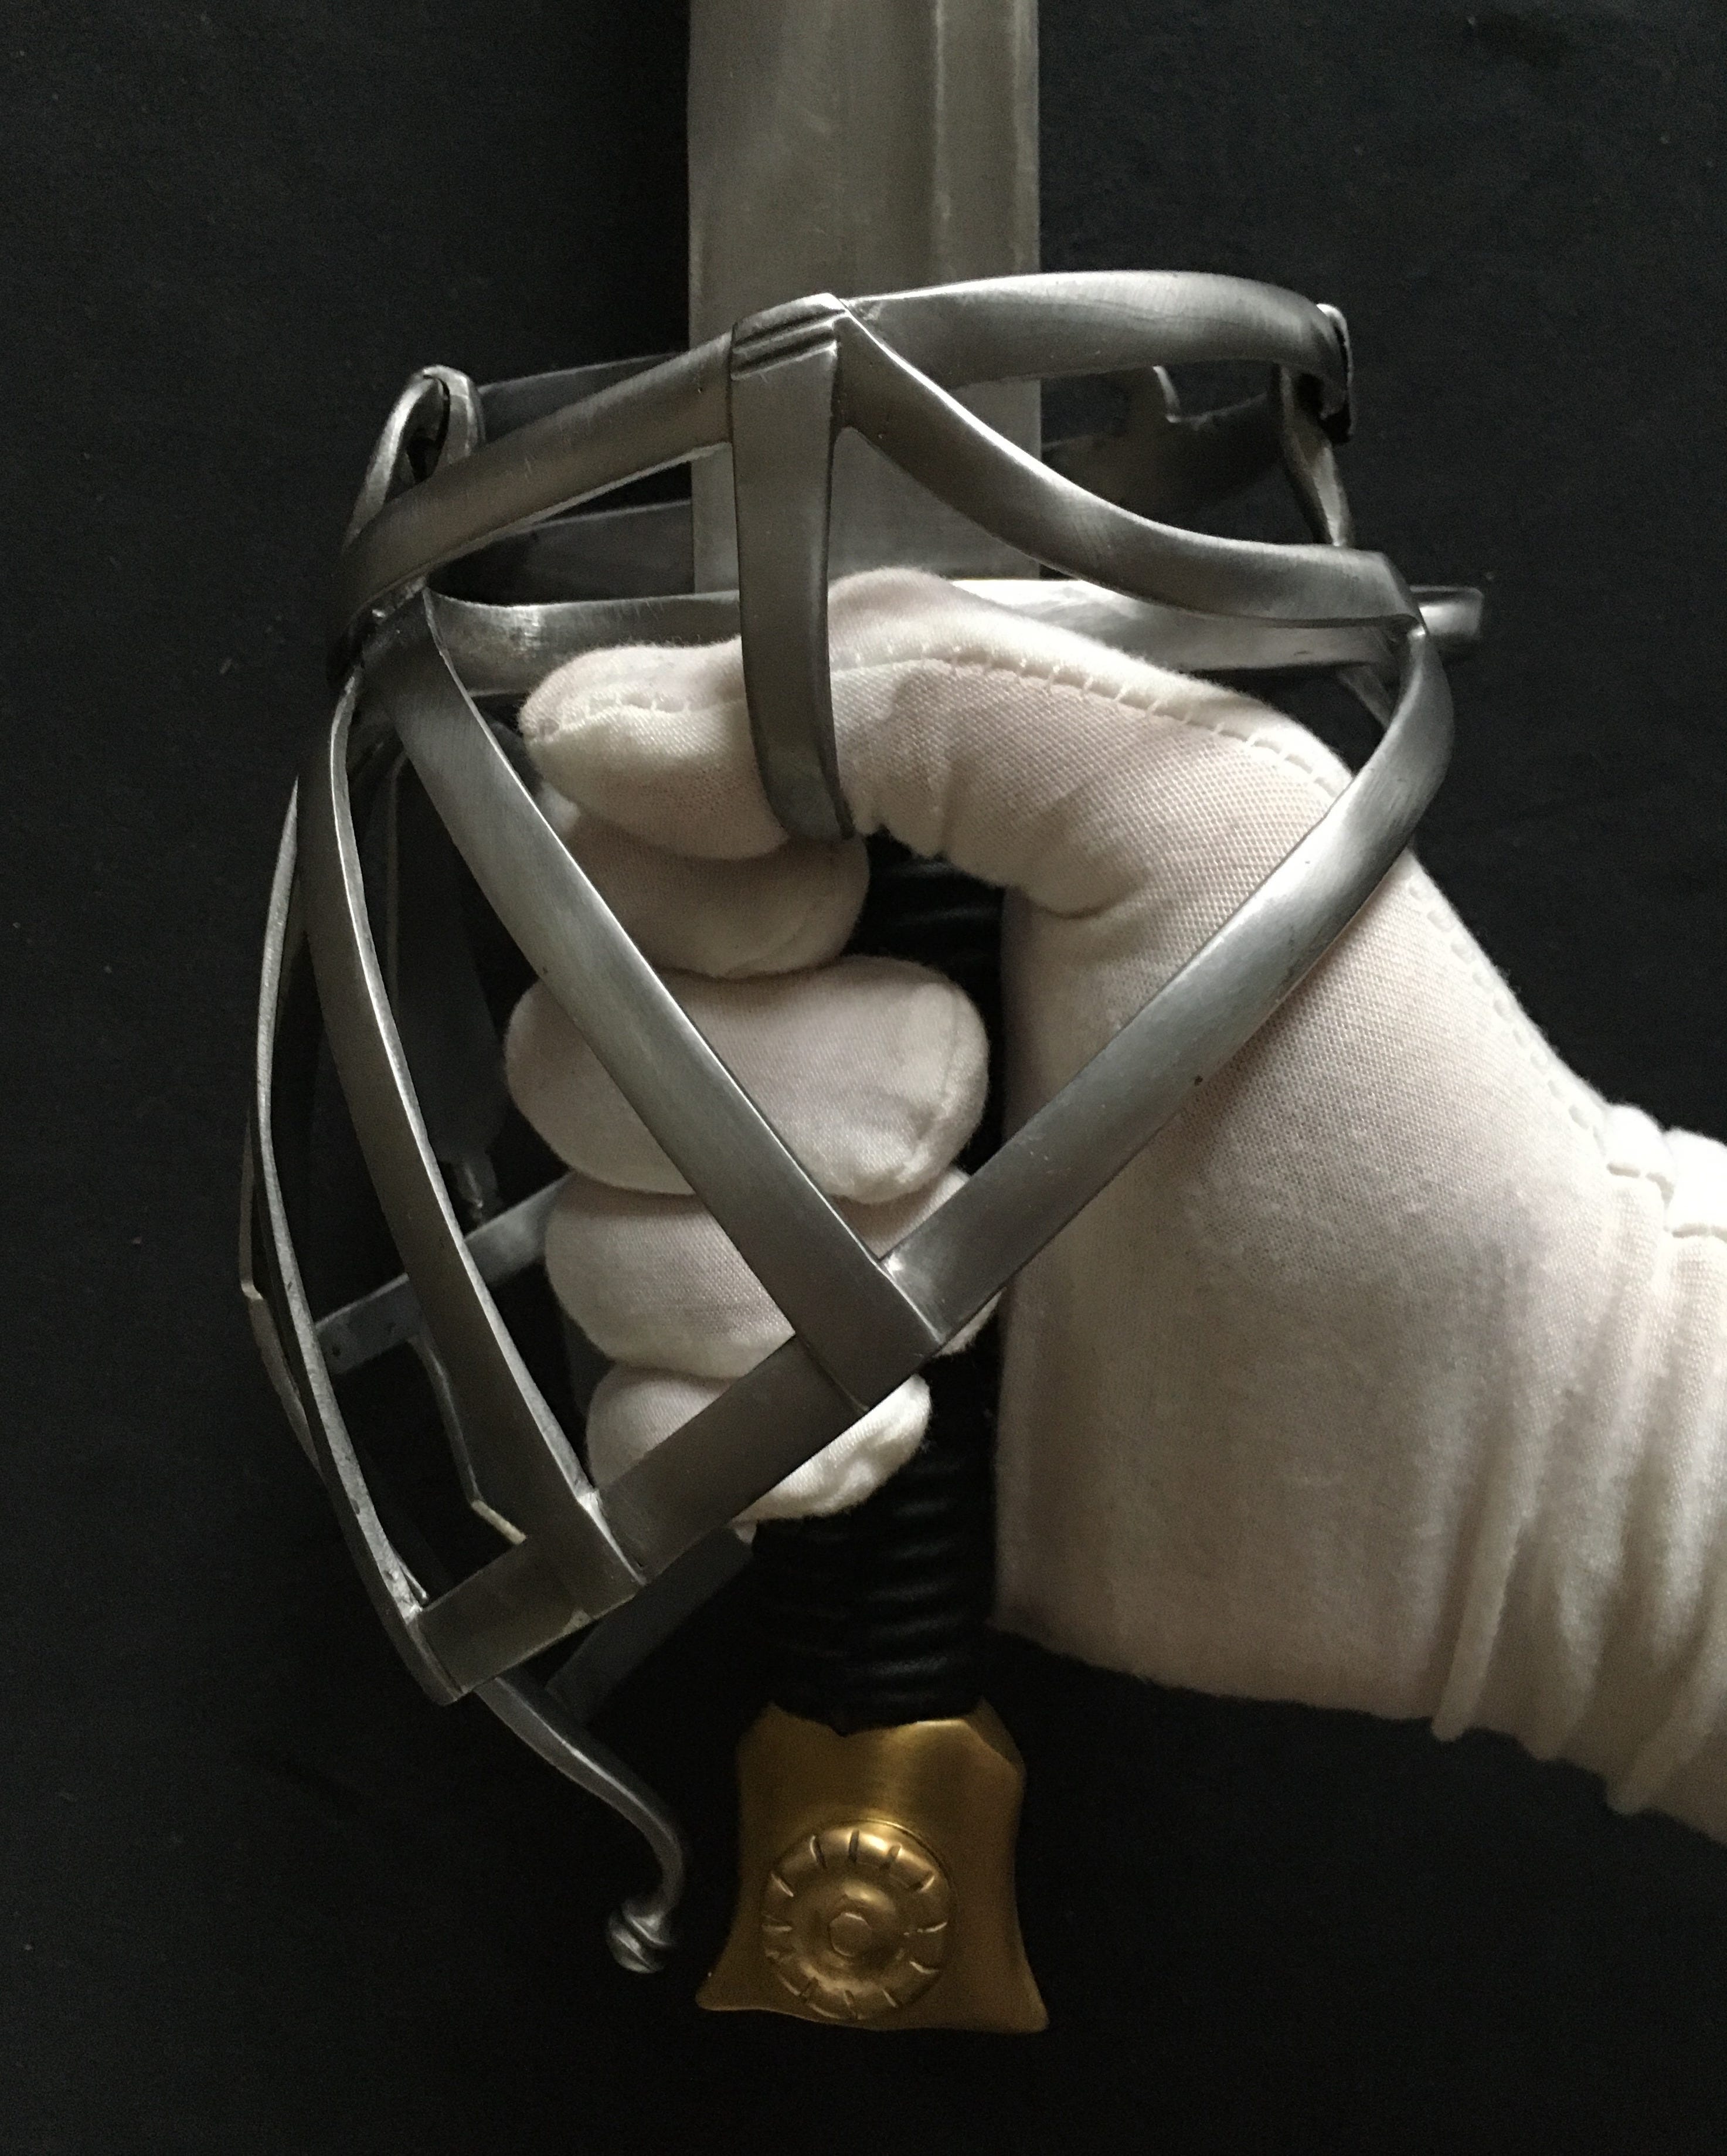
The simplest grip, where you just wrap your hand around the grip. The name is given since you hold the sword in a very basic way, without any grace, like you would a hammer (ironically, this is not how you are supposed to hold a hammer either).
Some swords require you to have your hand lodged in tightly between the cross-guard and the pommel, to promote the use of draw cuts using this grip. This is the case for some curved-bladed swords, but also for full basket-hilted ones.
In general, this grip allows you to gauge the size of the hilt. Start by pressing your hand into the cross-guard. Can you fit your hand in? Yes, then this is the right grip size for you. How do you feel the pommel at the base of your hand? It, locking your hand in, or being flatter and pressing onto the base of your palm, may inform you of potential uses for the sword.
Variation: thumb-ring
As a variation, the thumb can be placed through a thumb ring on sword hilts that possess one. Swords that allow for this are obvious, and this is not the case here.
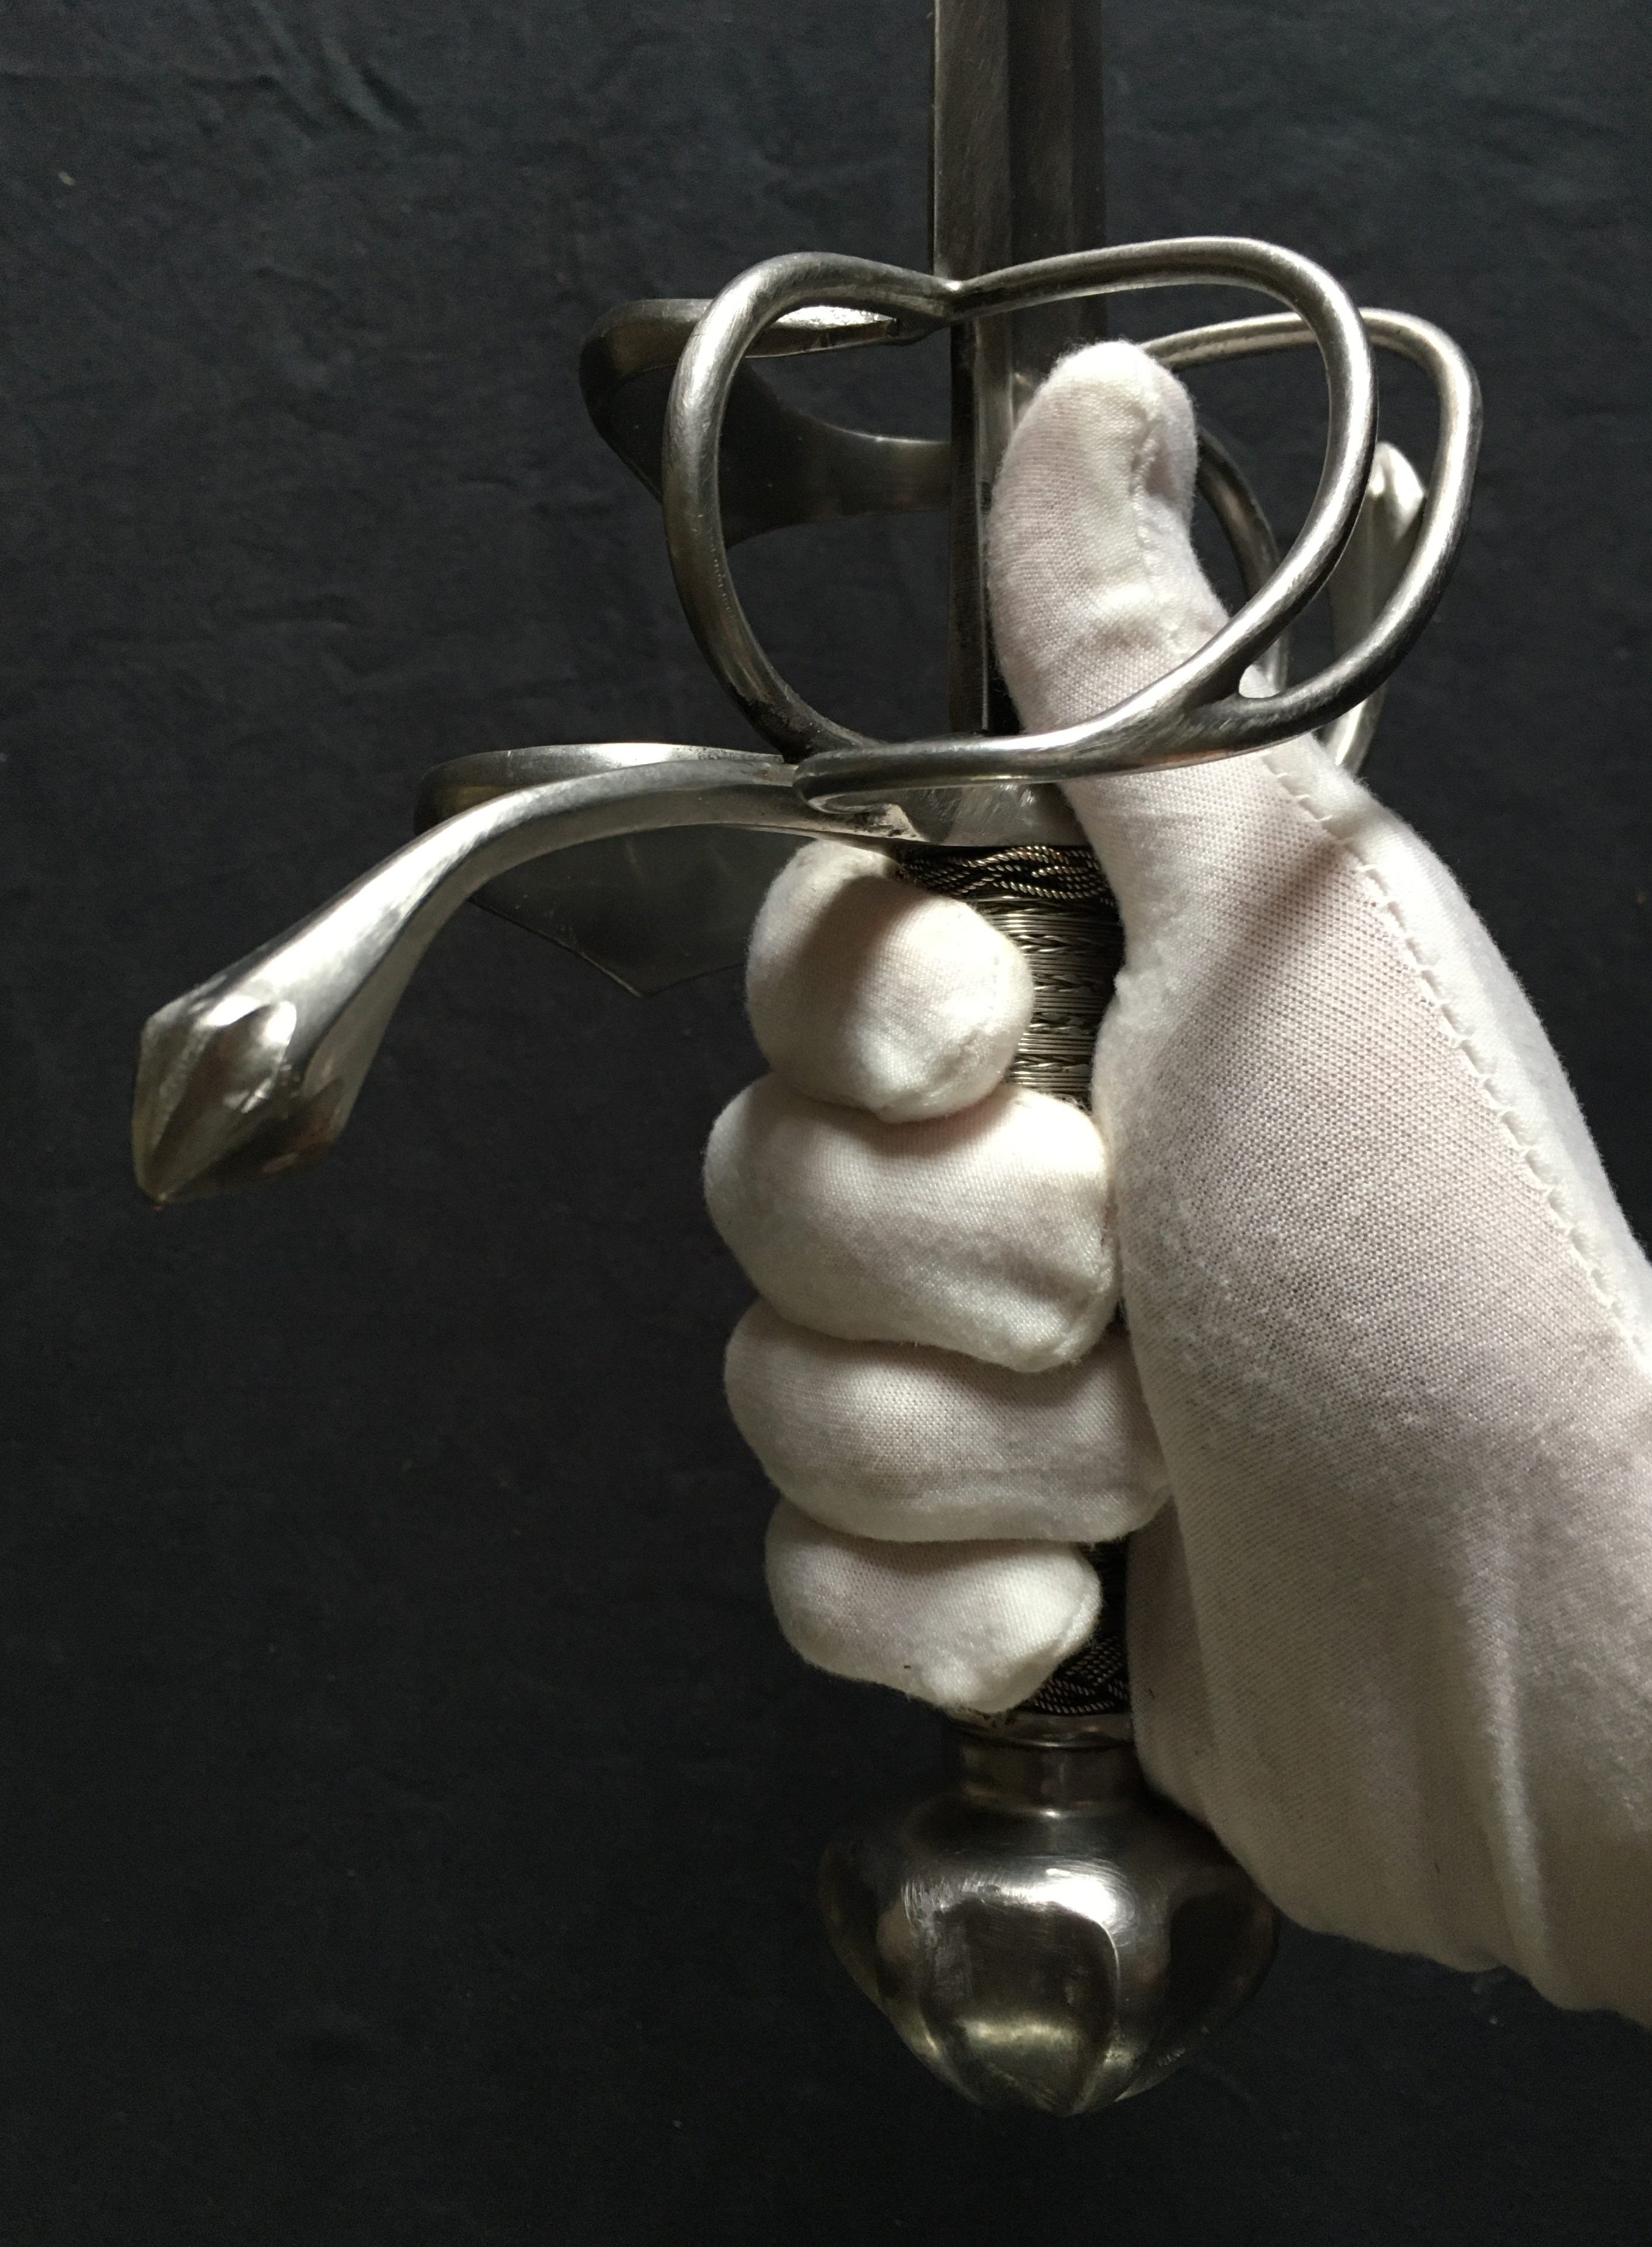
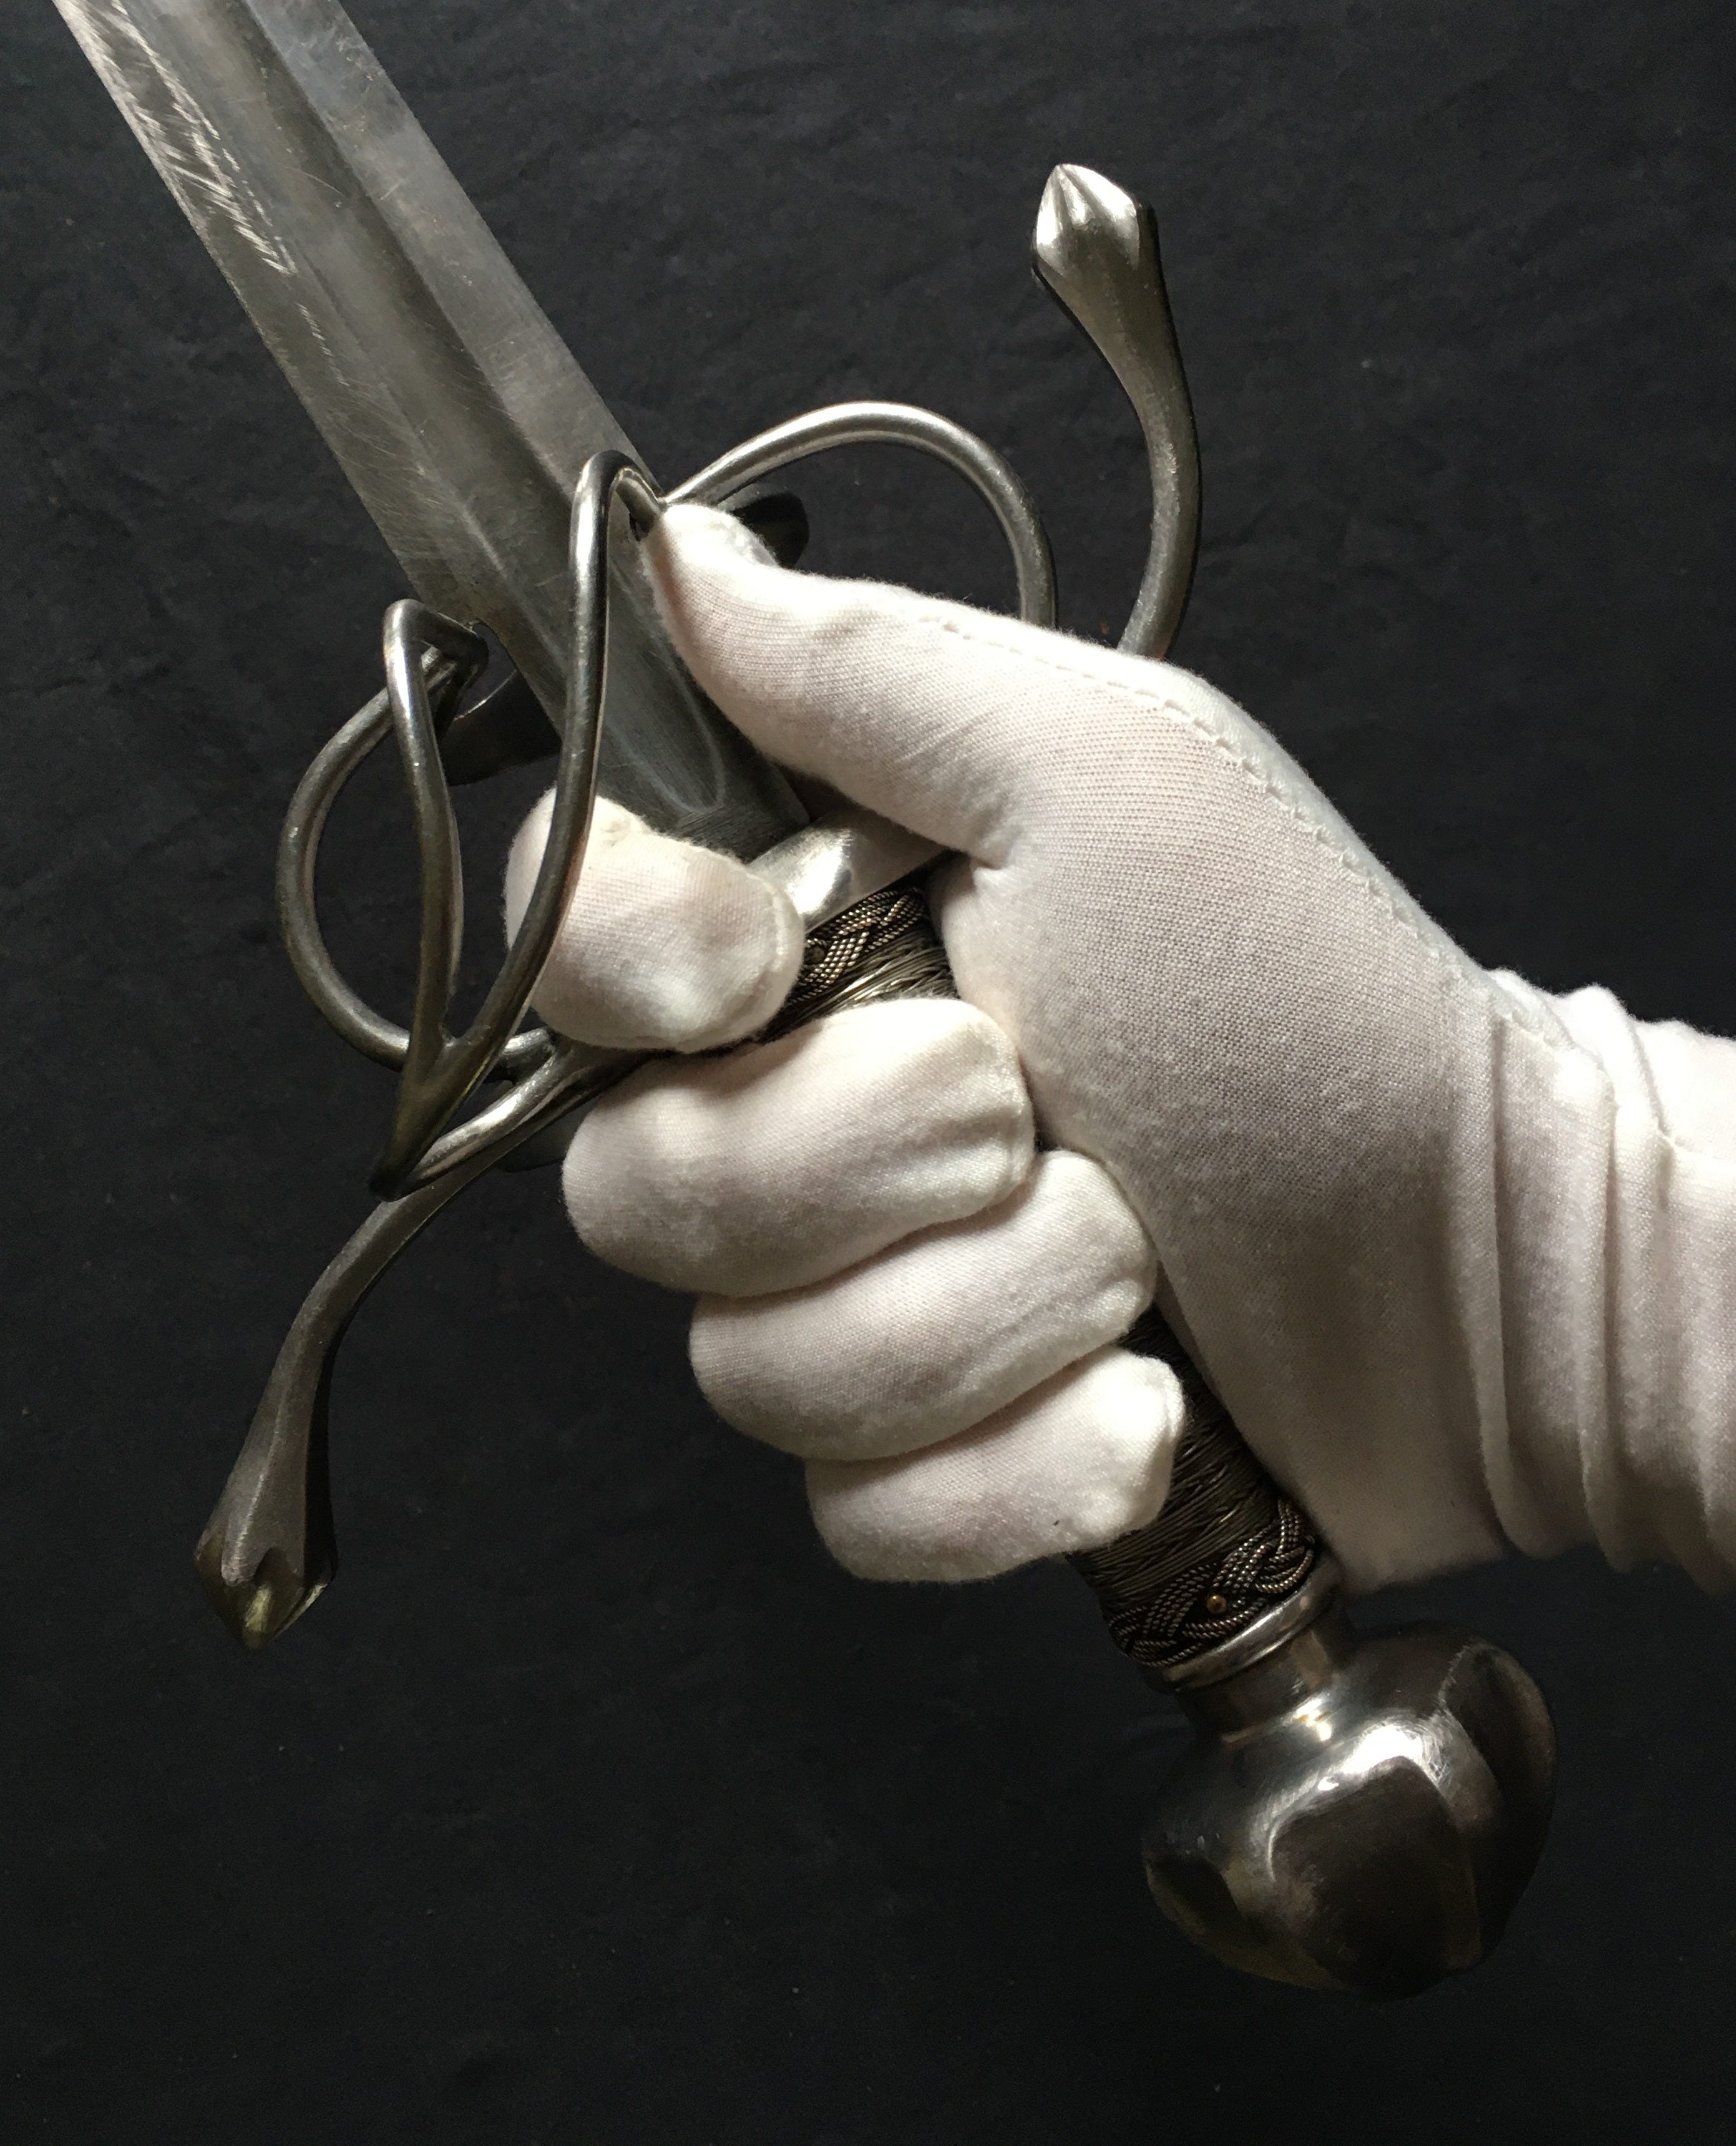
Thumb Grip
From a hammer grip, just extend the thumb and place it on the flat of the blade. The sword will rotate in your hand, and you will grip the sword with the quillons and the edges of the blade pointing sideways from before. This is a grip used in a lot of German fencing techniques, such as for the langmesser, but also for some German rapier traditions that place the edges sideways. For langmessers and arming swords, this grip will allow one to block with an edge, then rotate the wrist and quickly strike with the other edge. This is also a natural grip for left-hand parrying daggers.
Making this grip will tell you if a hill allows for it. It may be that the quillon block has such a shape that makes it impossible to use a sword in this grip. It may also be that inner-sweeps, shells, cup-hilts, or basket-hilts would prevent you from placing your thumb on the blade and using a sword like this. A flatter grip, which makes the use of a hammer grip easier, will also prevent you from rotating the sword in your hand.
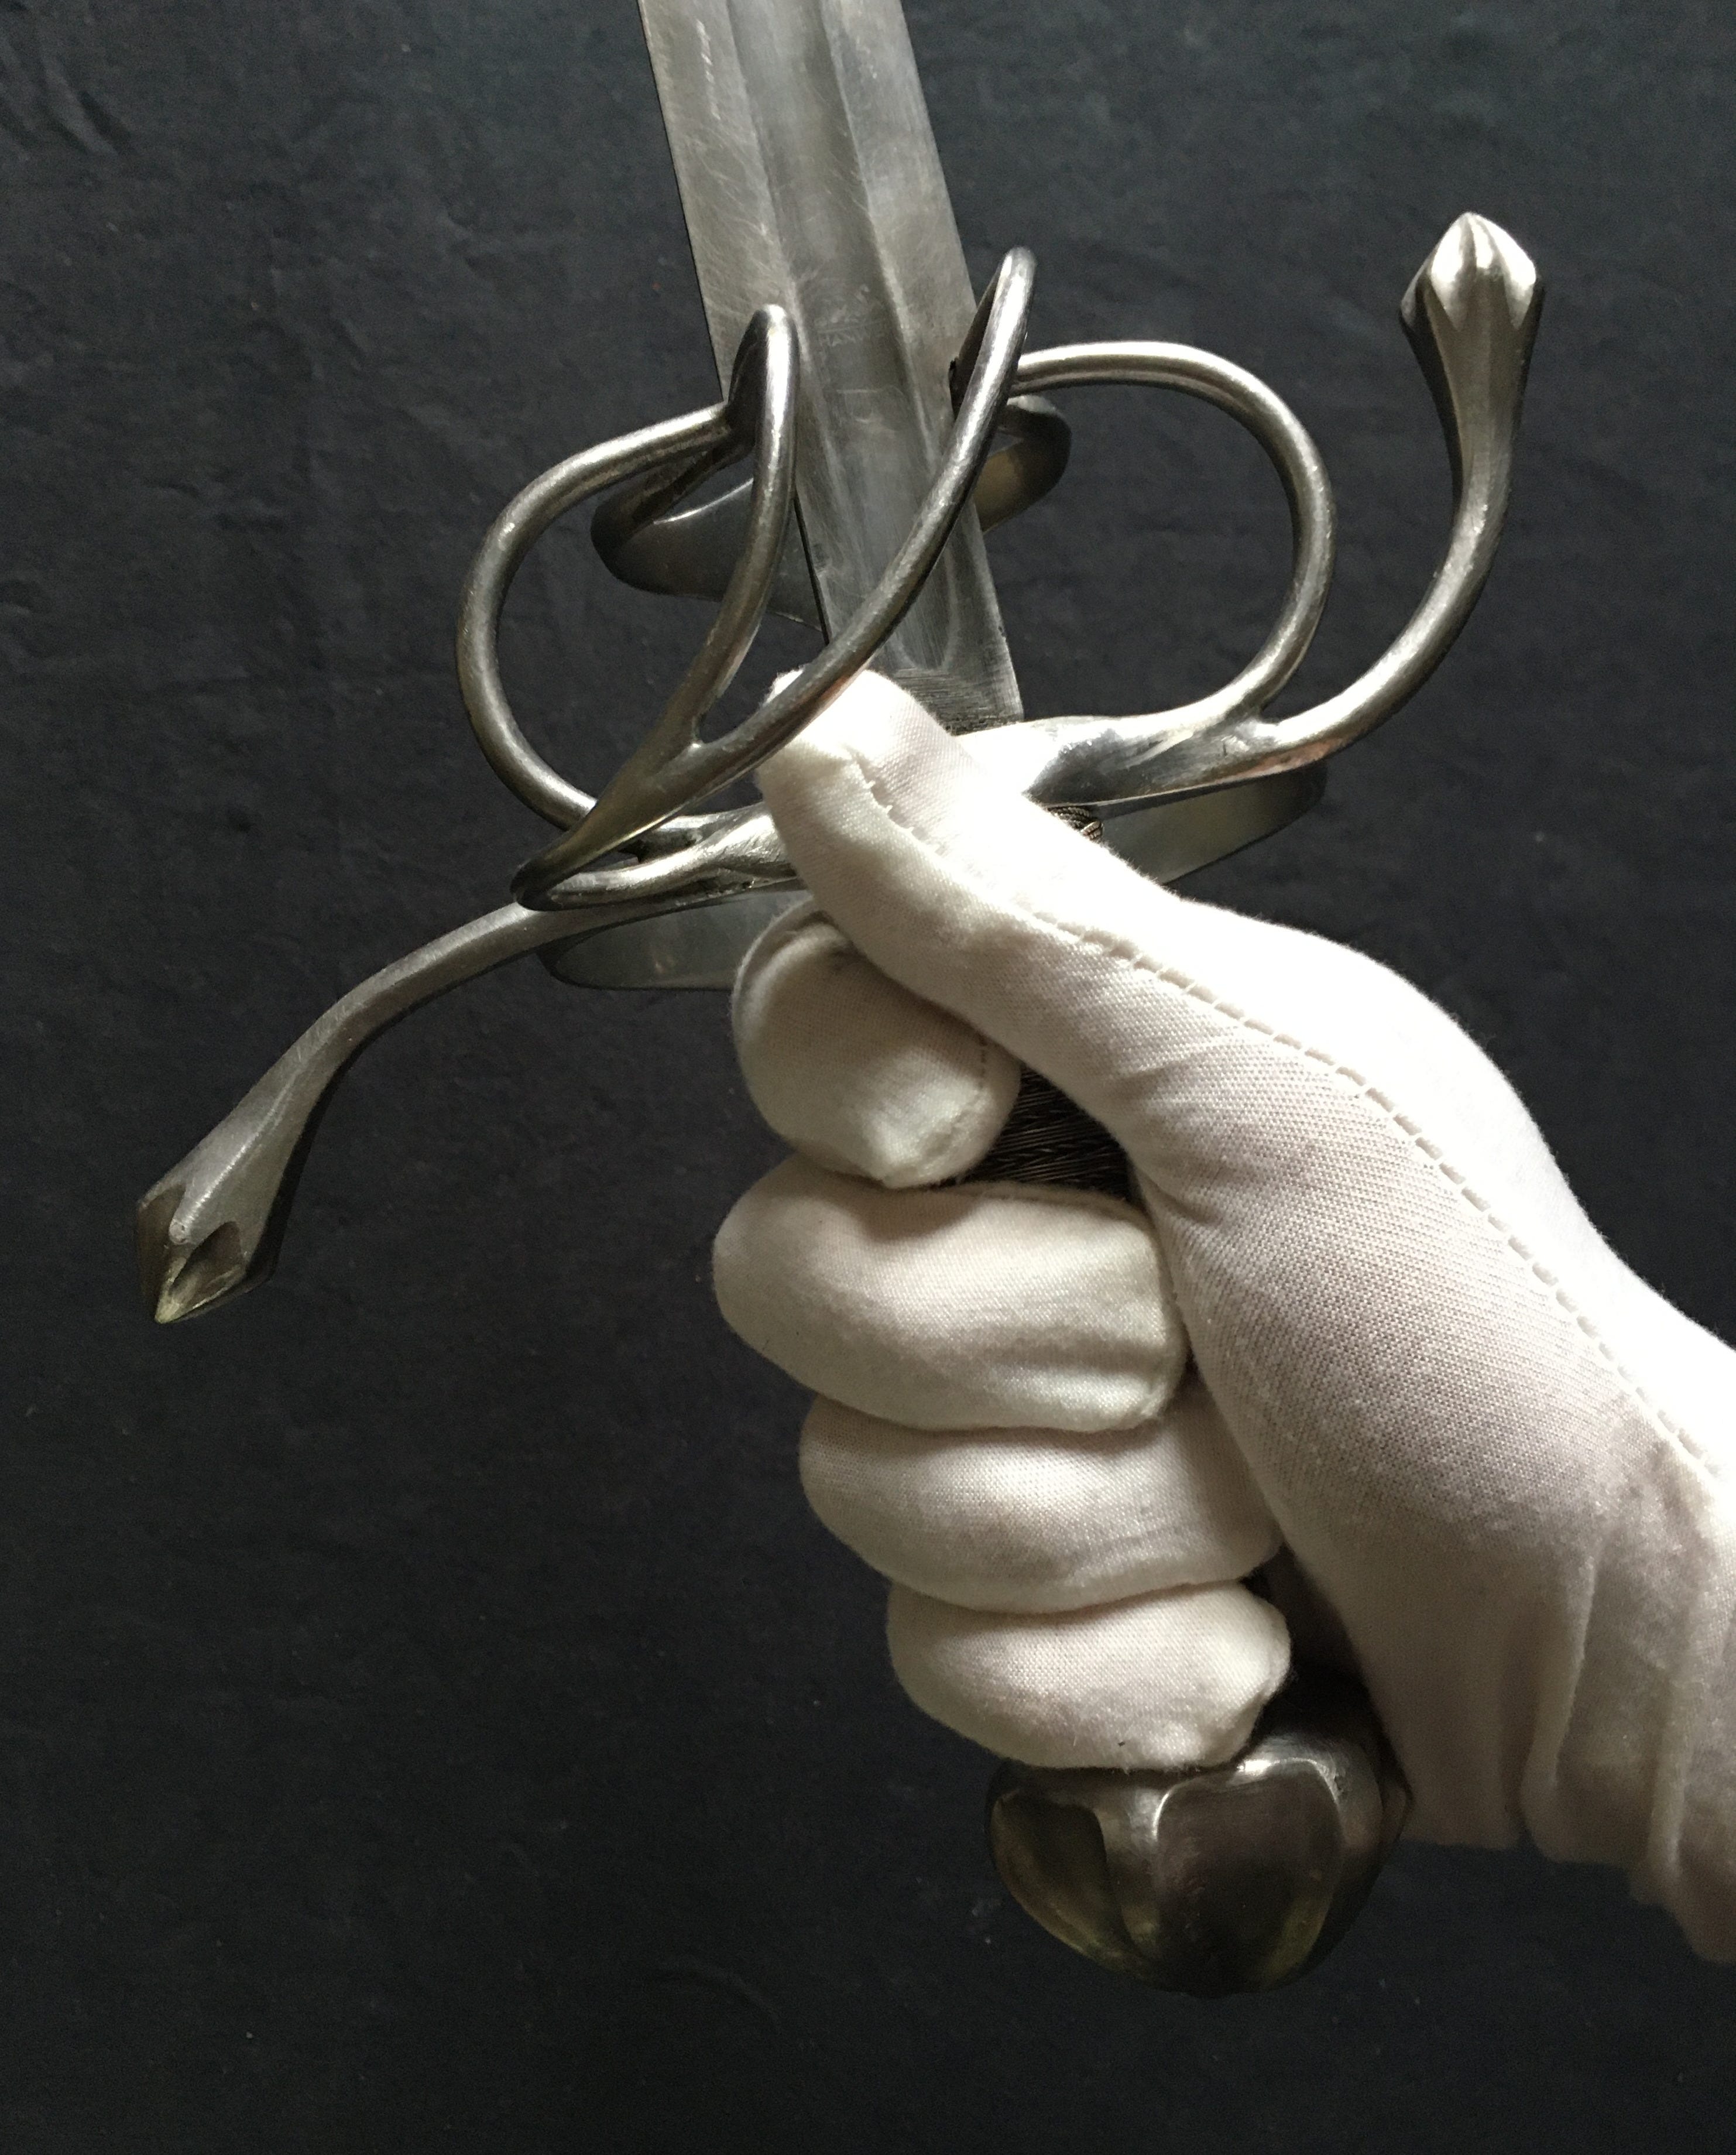
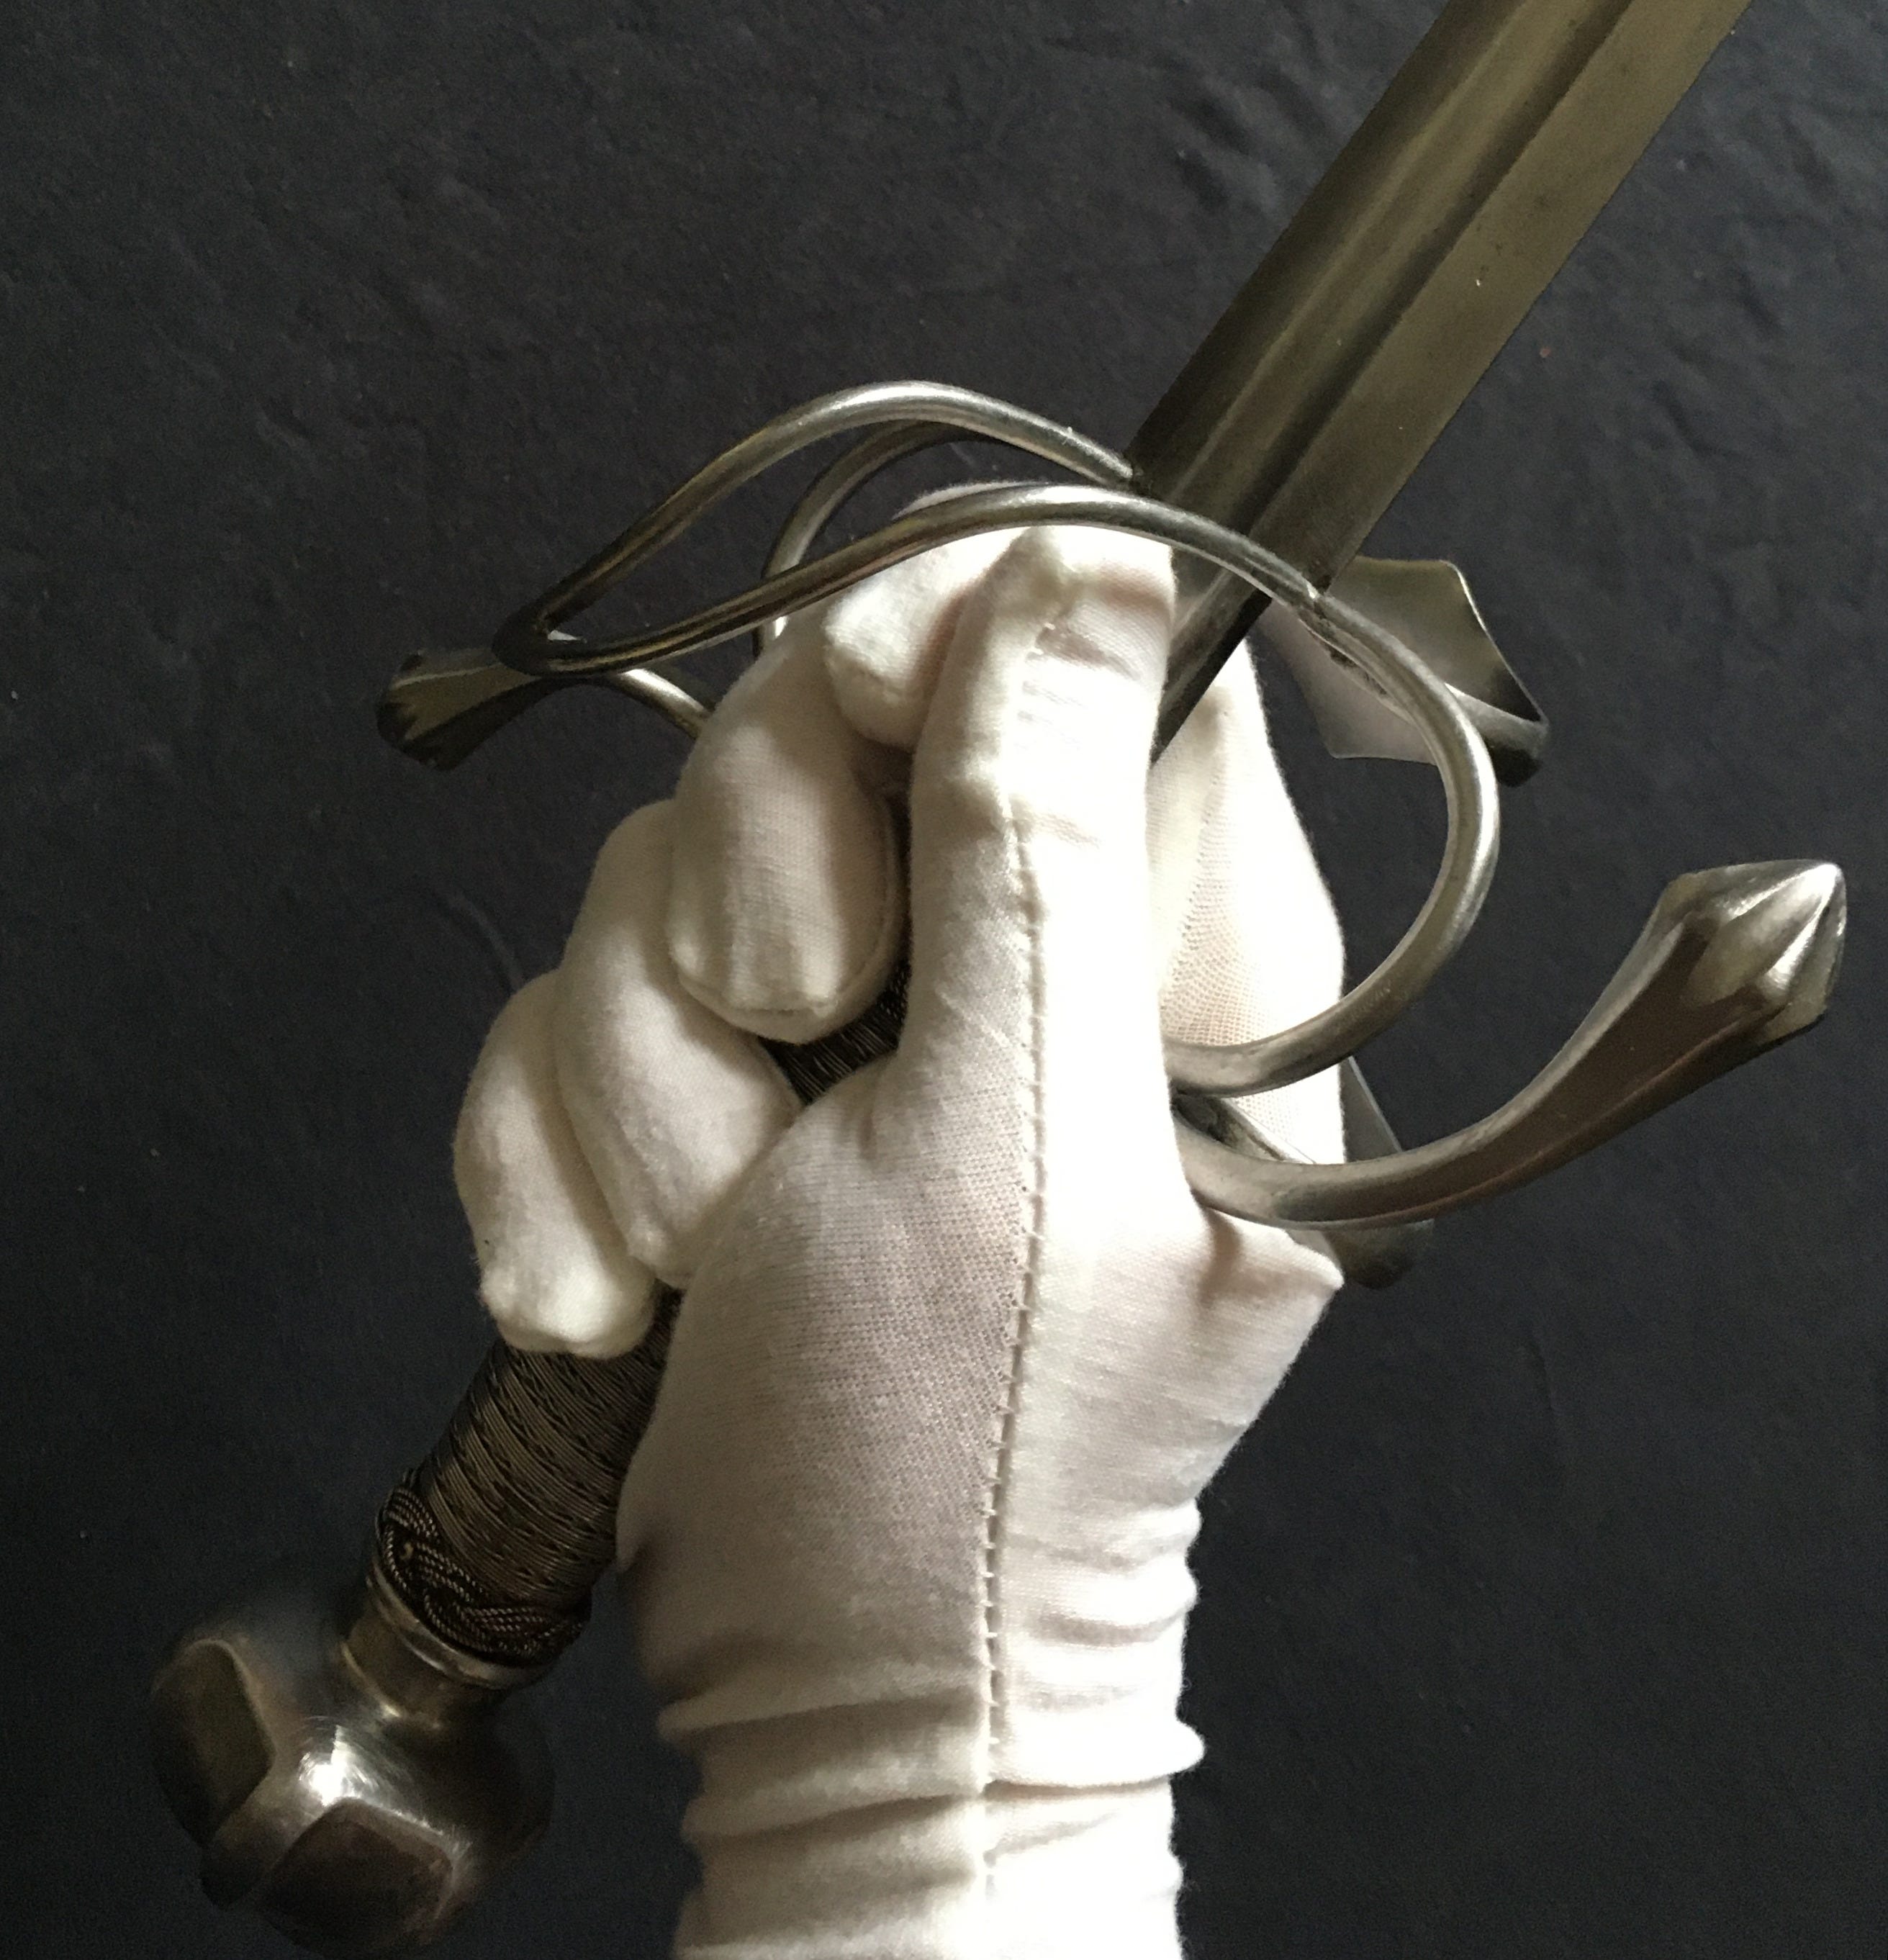
Handshake Grip
From a hammer grip, one just needs to relax the hand and allow the sword to point forward. It’s the same hand position one would have during a handshake, hence the name. In this grip, you can point the sword at an opponent more easily. This is the most common grip when it comes to the natural way of using a sword.
To gauge the full extent of the handshake grip, start by placing the pinky finger at the base of the pommel and extend the separation between the fingers until you reach the cross-guard. Close the thumb over the index. This needs to feel comfortable.
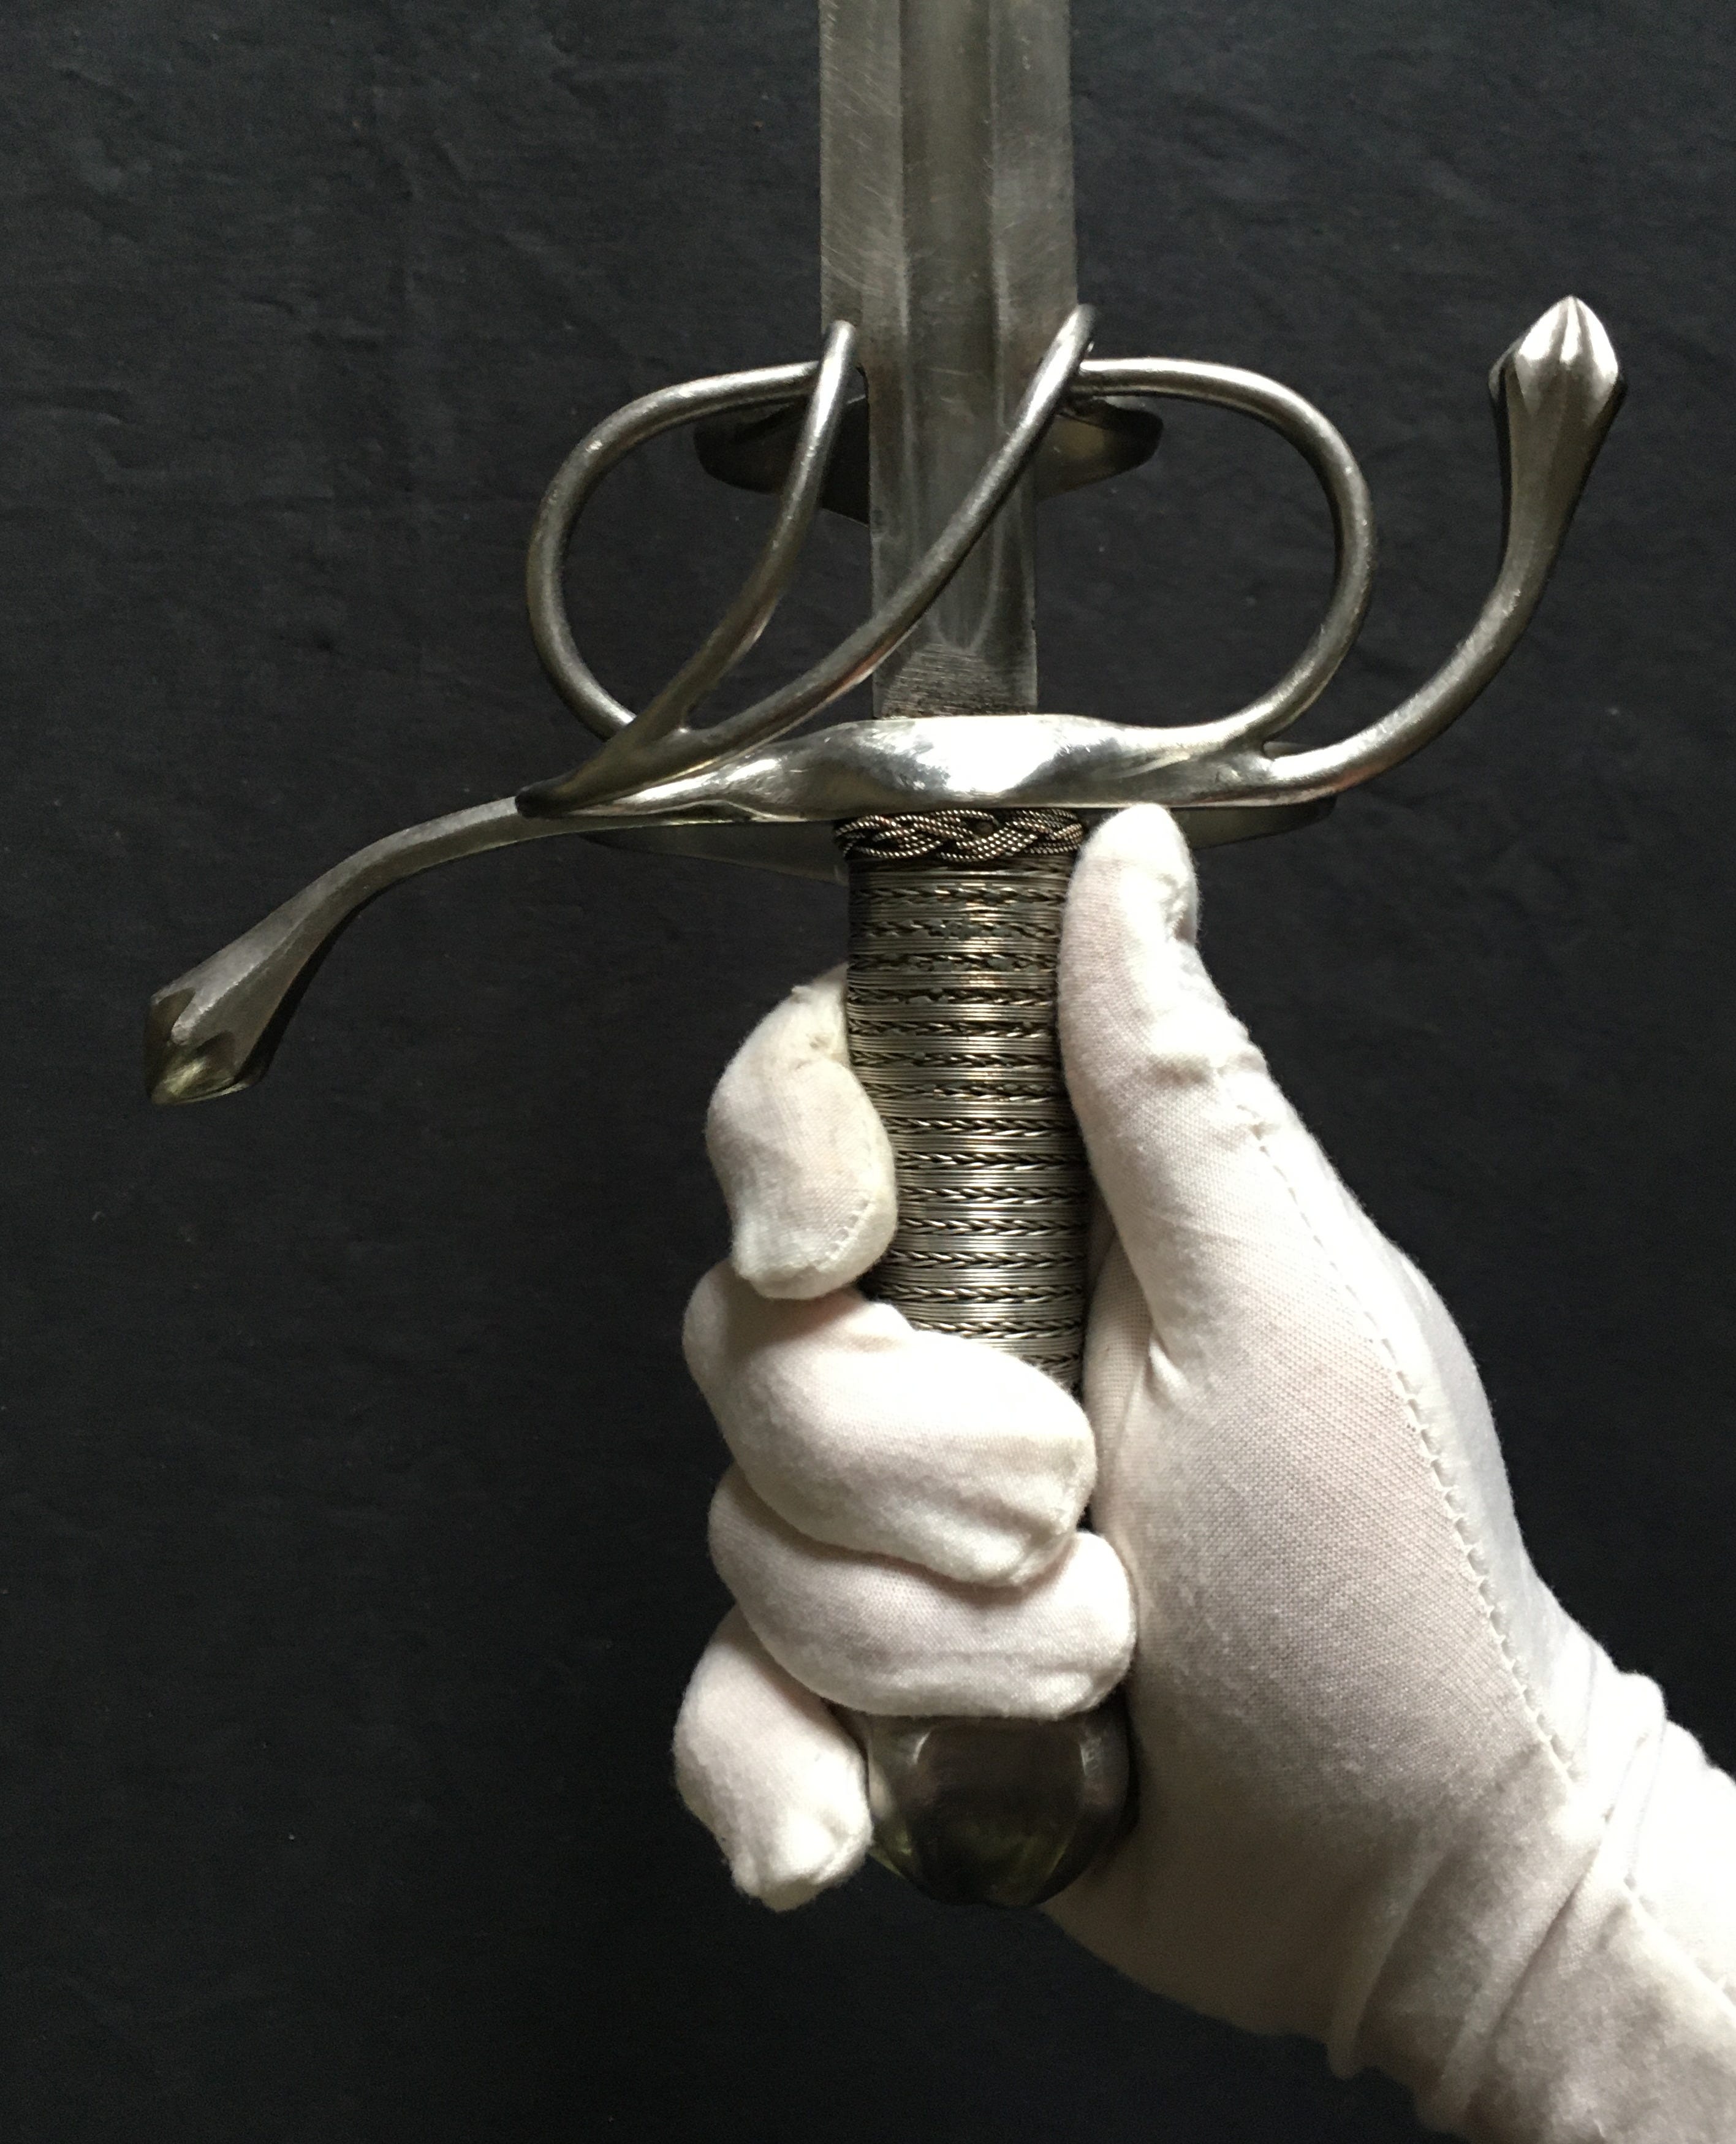
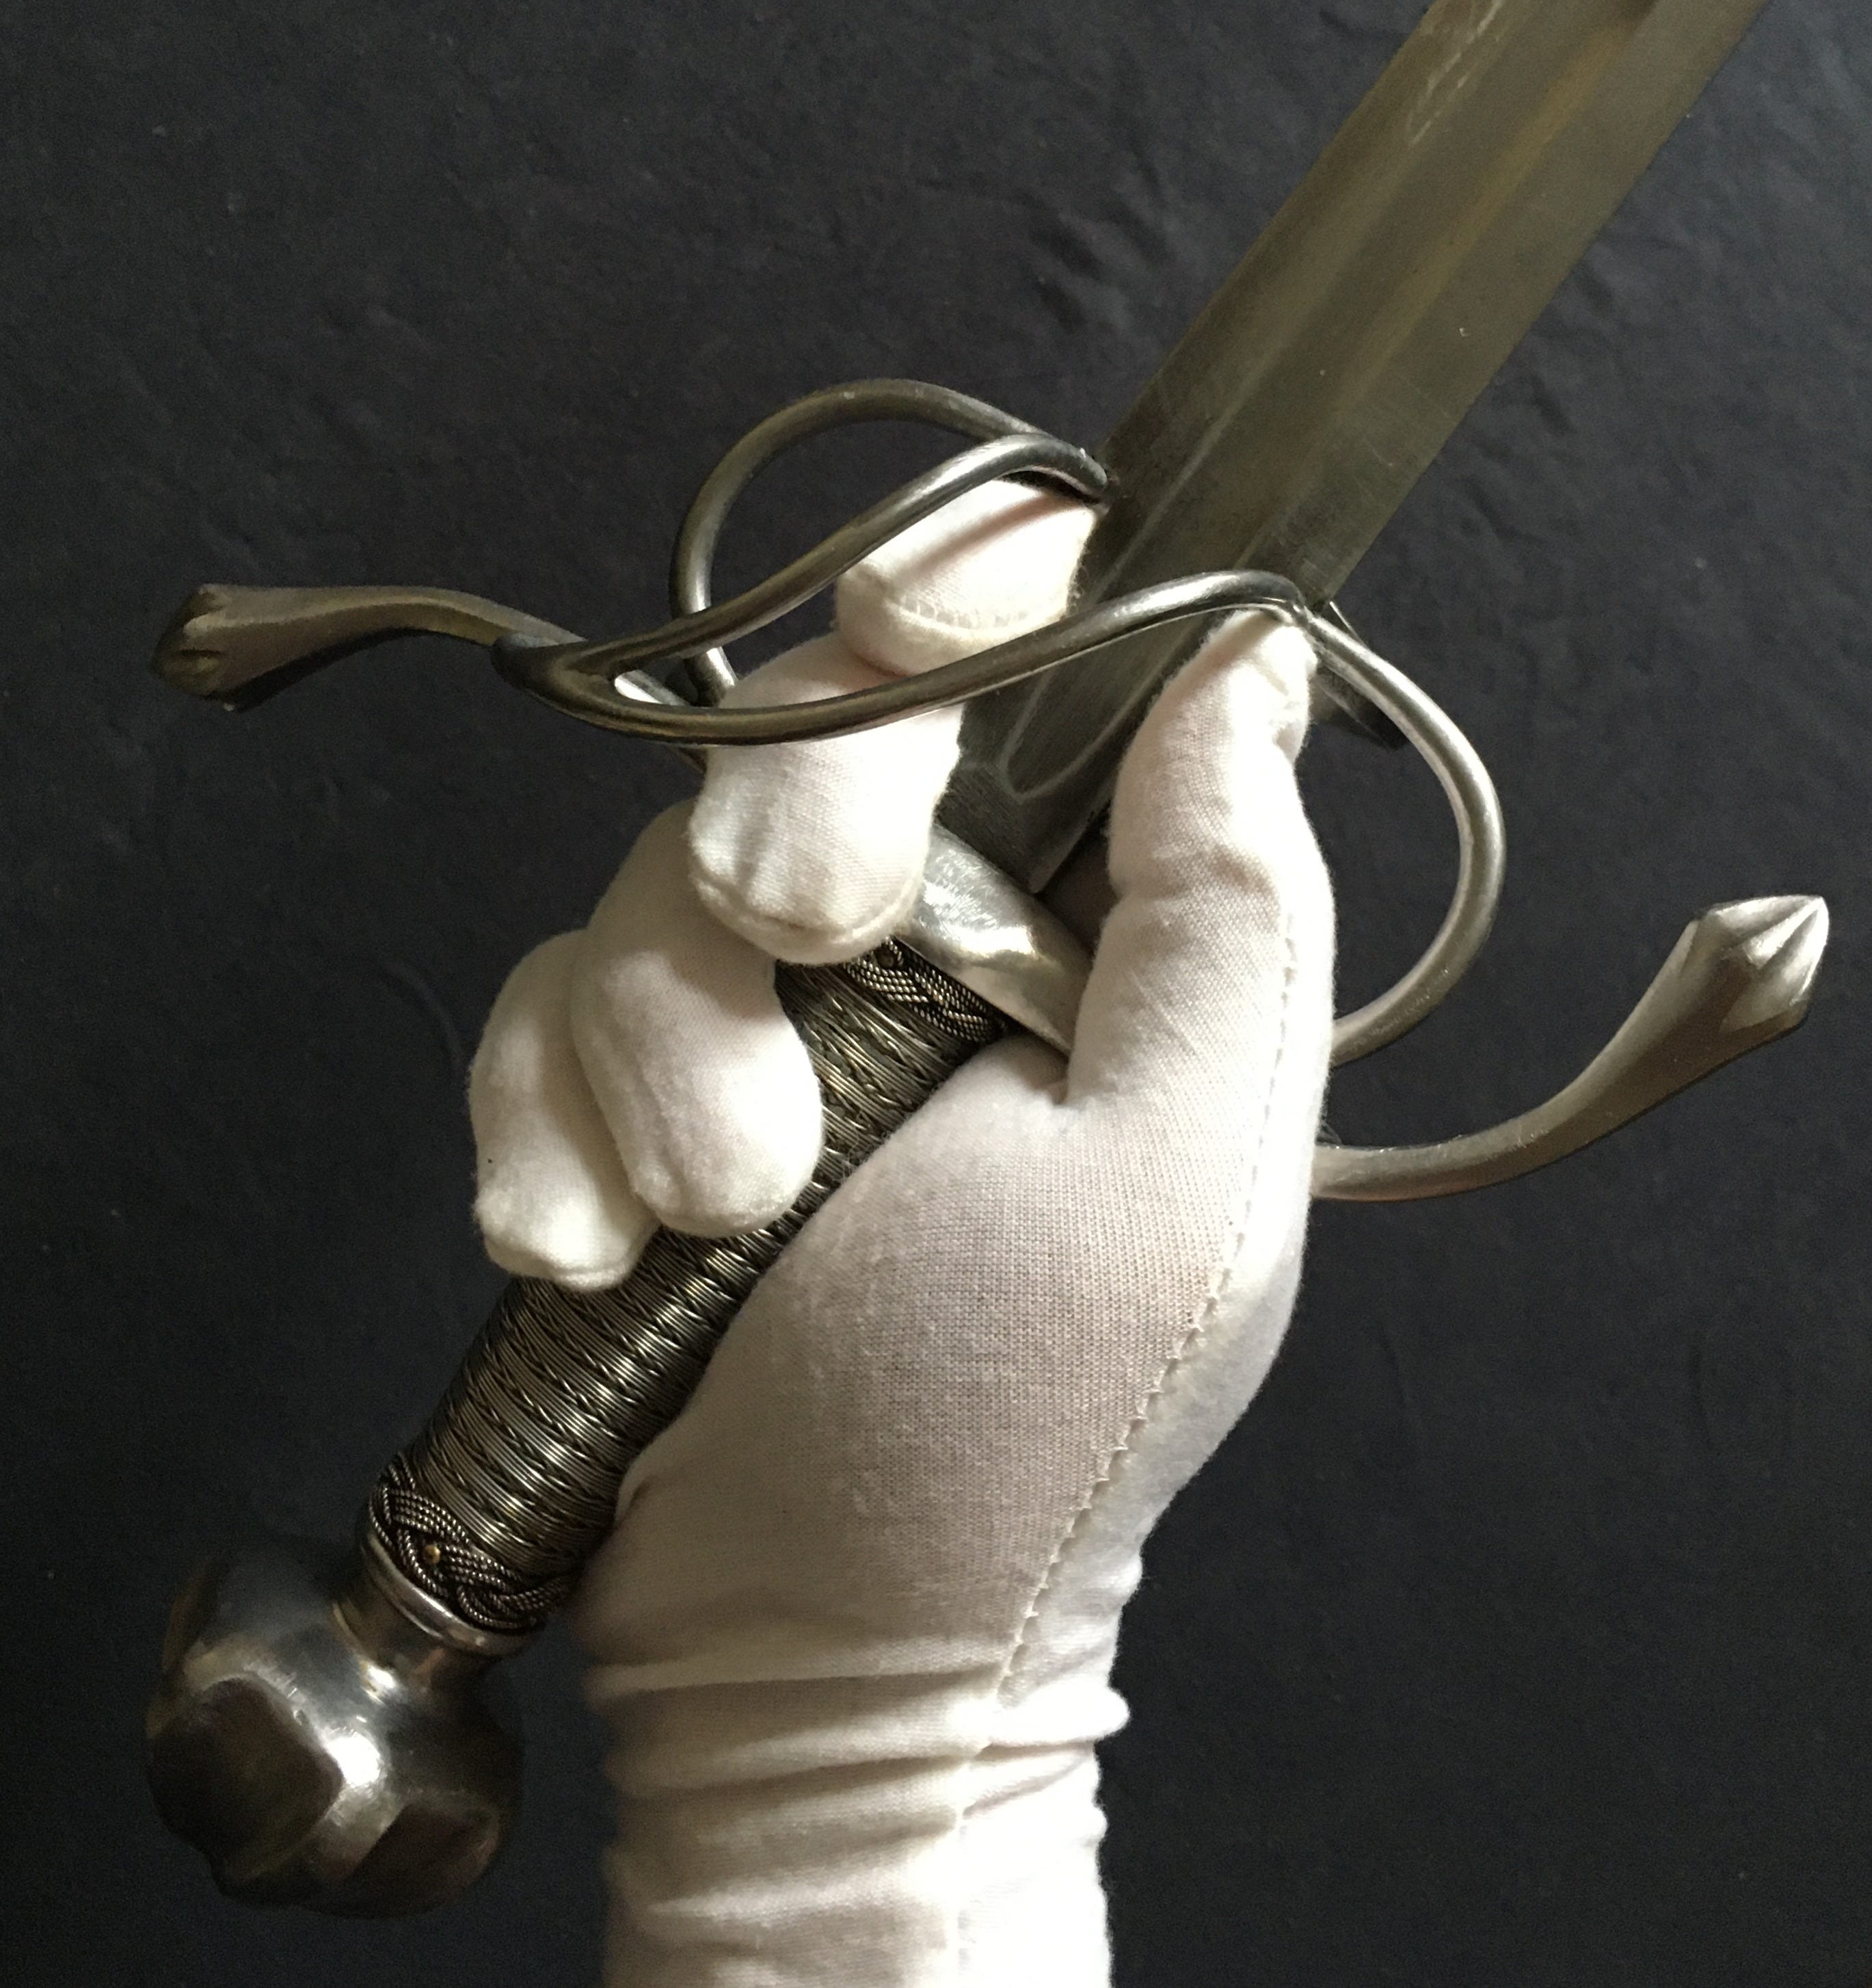
Sabre Grip
Consider now a handshake grip, where you place the thumb on the back of the grip. This allows you to present the tip forward while having a reinforced structure for the grip. As the name implies, this makes a lot more sense for sabres, particularly for sabres used during cavalry charges.
Variation: pistol-grip
If the grip of the sword curves downwards, one may feel like holding onto a revolver grip. This is the case for some sabres that take the adaptation for the sabre grip to the extreme.
Variation: pommel-grip
The same sabre grip, performed on a sword with a pommel, may result in holding the sword by the pommel. Start by placing the ring finger at the base of the pommel. Allow for the pinky to wrap around the pommel, or just lay on it, and for the pommel to be in the palm of your hand and not at its base. This is a way to gain finer control of the swords through the interaction with a flat pommel. Rounder, fig or bun pommels don’t work well for this, as those are designed primarily to lock your hand in.
From all the grips showcased with this particular sword, this is the only one that doesn’t work in a satisfactory way. In fact, I am more perplexed that all the other grips work quite well with a sword not designed for them.
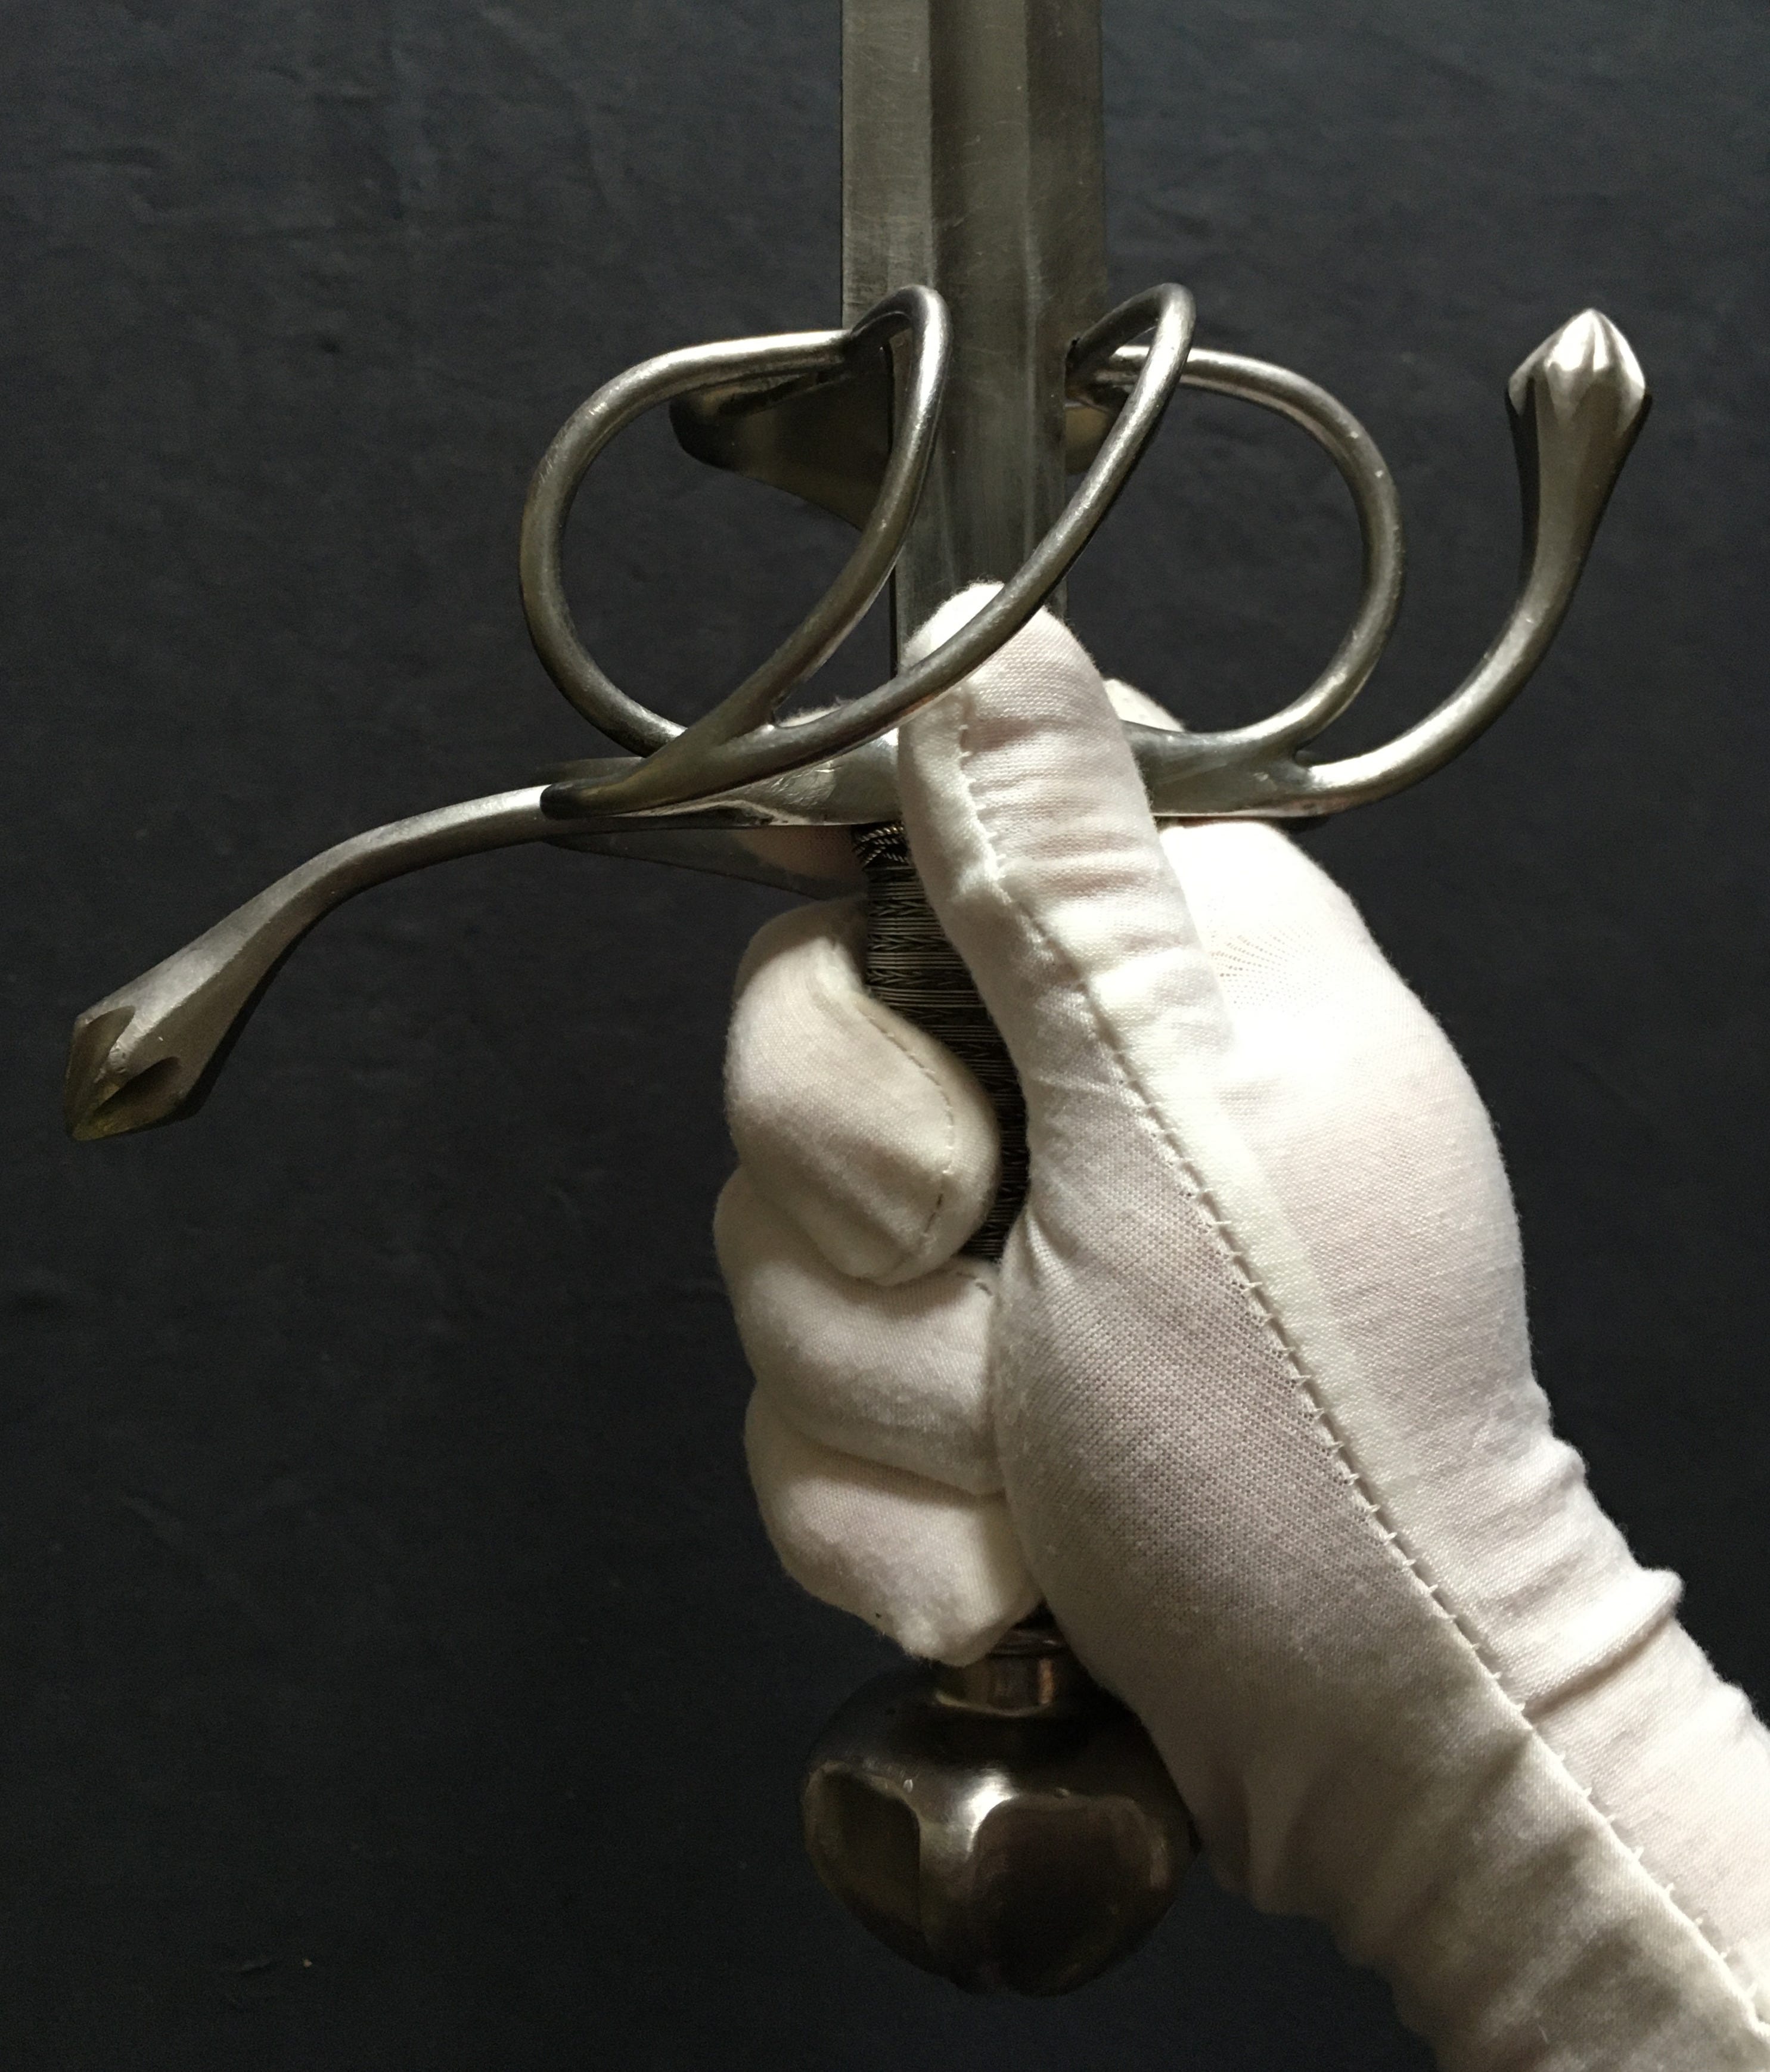
Sideswrod Grip
A grip intended for Italian or Spanish sidesword and rapier systems that make use of the thrust. One just needs to wrap his index over the crossguard and close the thumb over it. This allows for the tip of the sword to point towards the target, just like the handshake grip, but offers more tip control. At the same time, quick cuts powered by rotating the wrist are possible. Swords that allow for this grip cannot have side plates at the level of the crossguard, and usually have finger-rings.
Variation: side-langet
With some quillon blocks extending langets on the sides, not the case here, one may place the thumb onto them to gain a better feel for the control of the sword.
Variation: reinforced
A simple variation of the sidesword grip is to place the thumb onto the spine of the ricasso of the blade. Doing so offers a reinforced grip that performs better in the bind and during cuts.
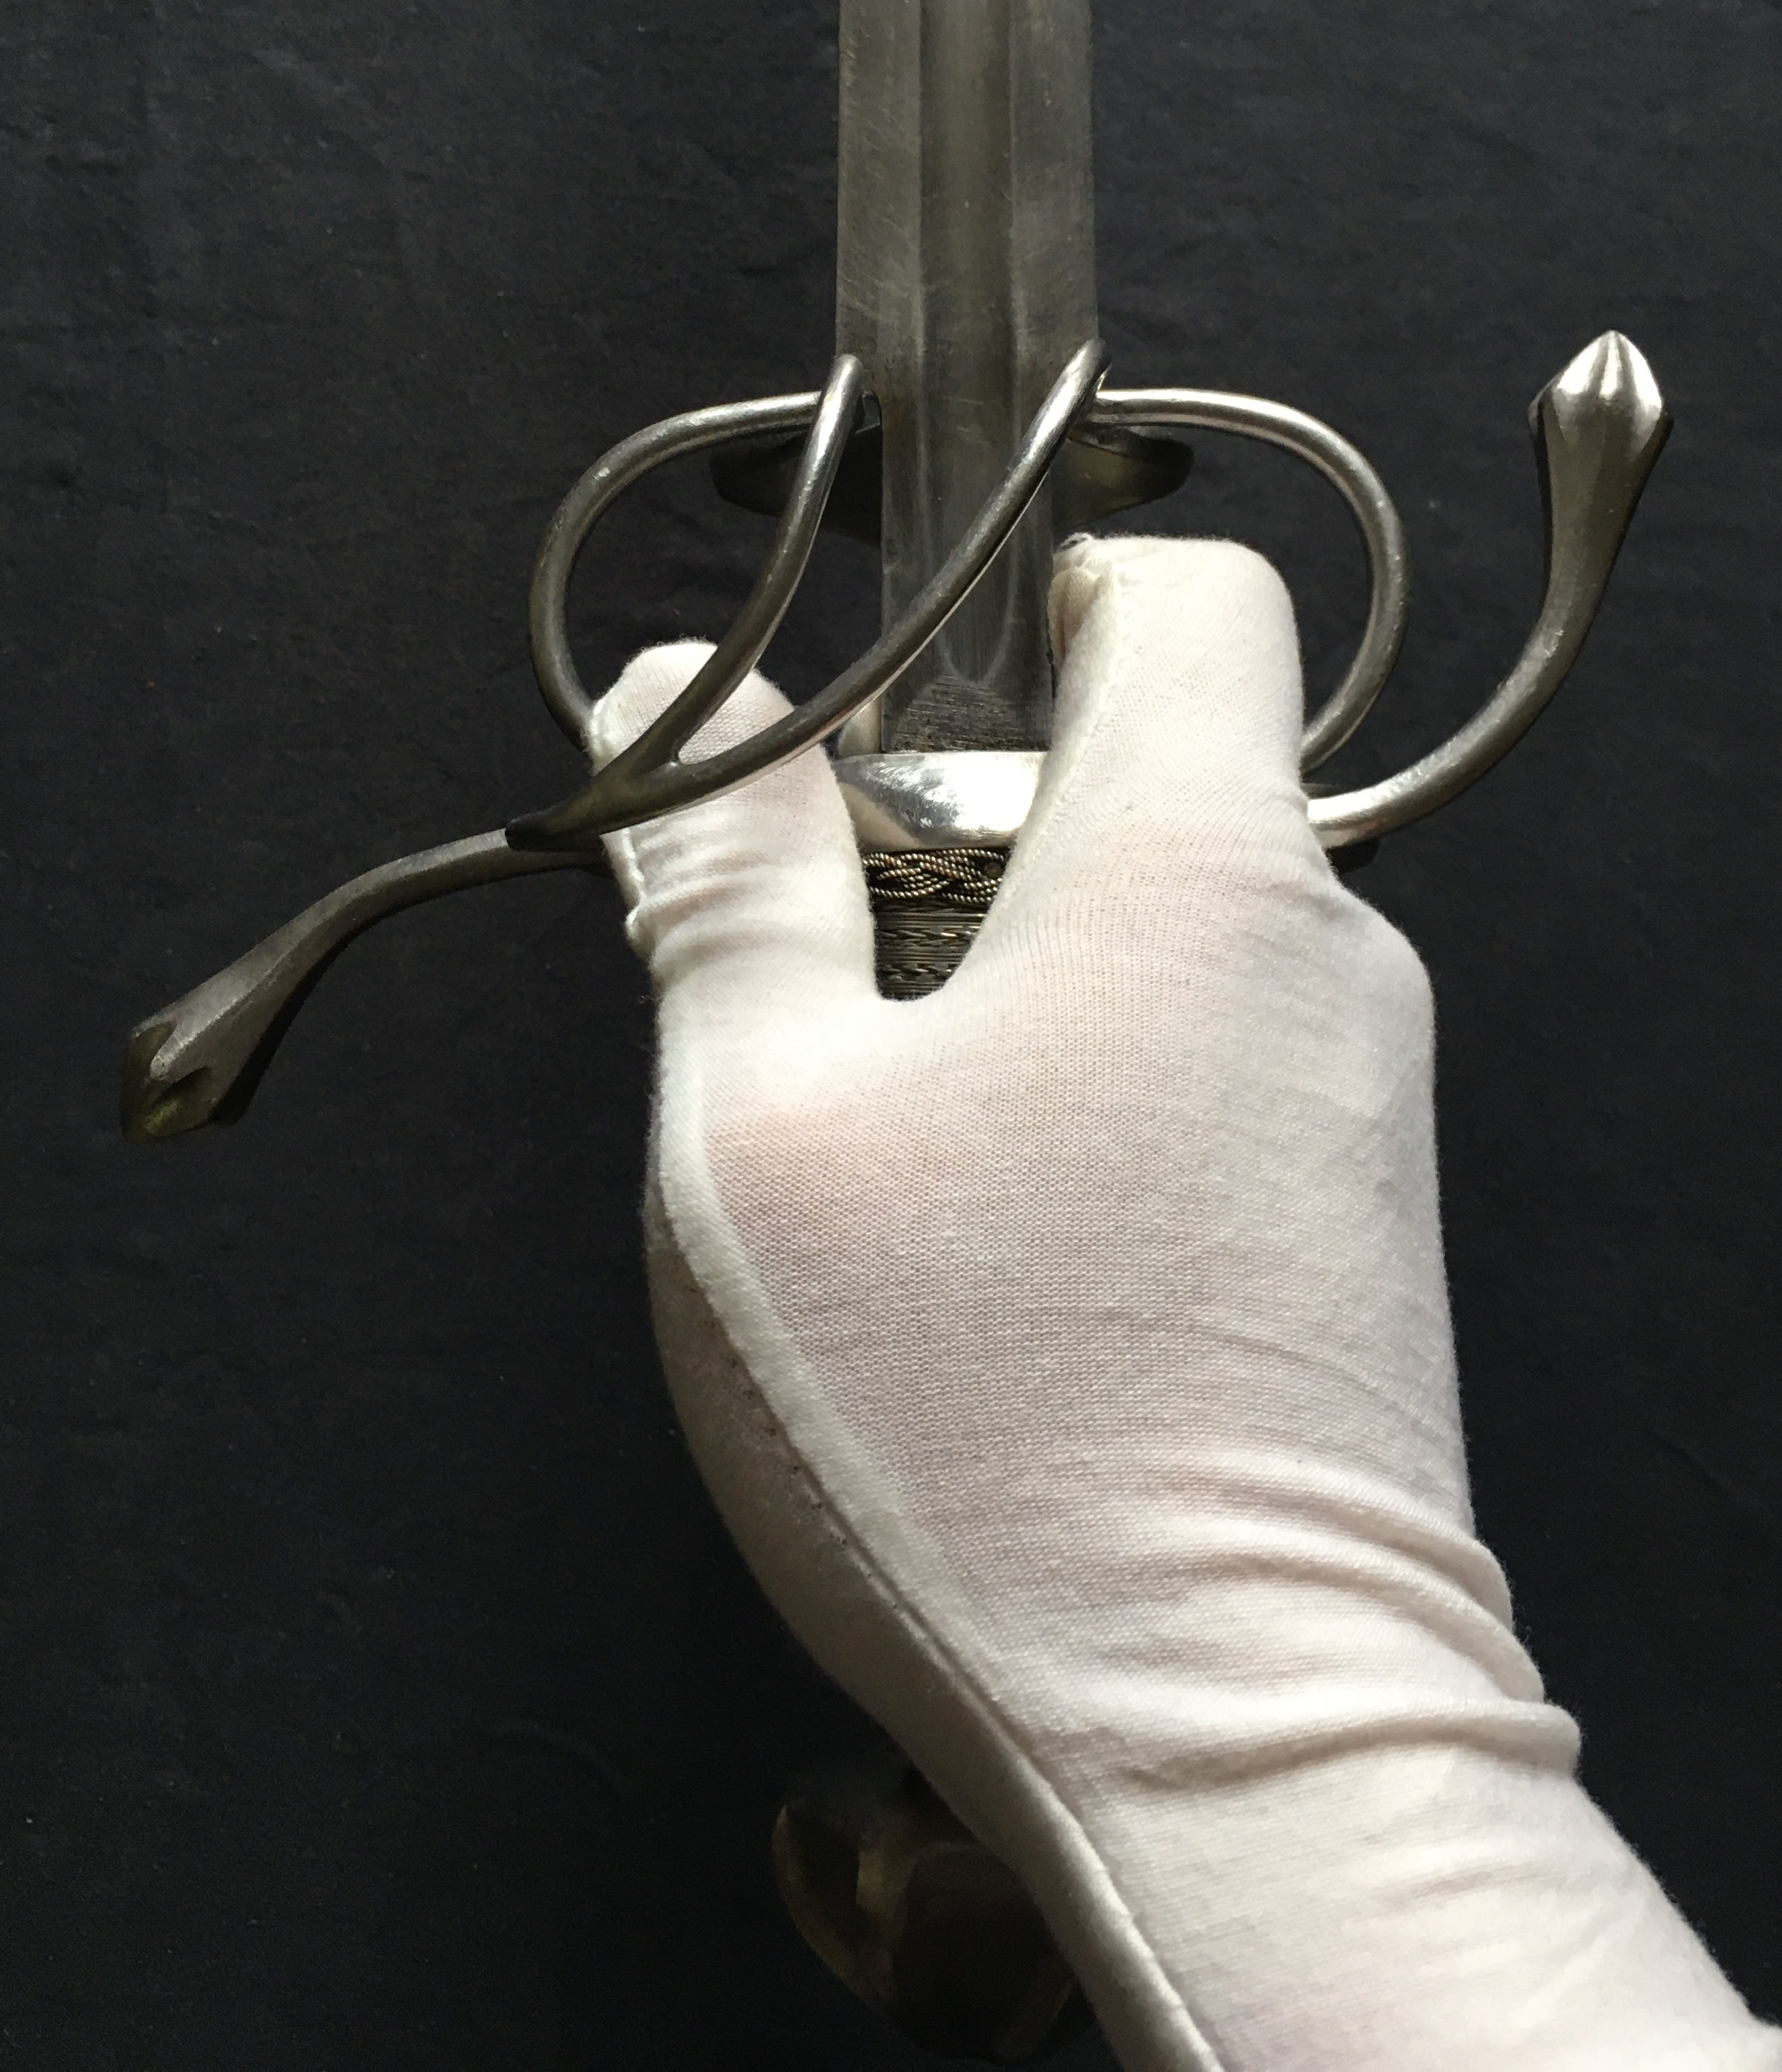
Thrust Grip
From the sidesword grip, if one would place not just one finger over the quillons, but two, he would get a grip that is focused on the thrust at the expense of powering cuts via wrist motions. This is a grip sometimes used for Spanish cup-hilt rapiers that are thrust-focused. Not only that, but this grip makes it easier to hold the extended arm forward in front of the body, again, specific to Spanish rapier systems.
Naturally, a hilt should have finger-rings that are large enough to allow for two fingers over the quillons. Conversely, since the hand is so forward into the hilt, the sword’s grip should be shorter to avoid inconveniencing the movement of the hand.
Variation: reinforced
This simple variation is obtained by placing the thumb over the spine of the blade, in the ricasso, to reinforce the structure of the grip.
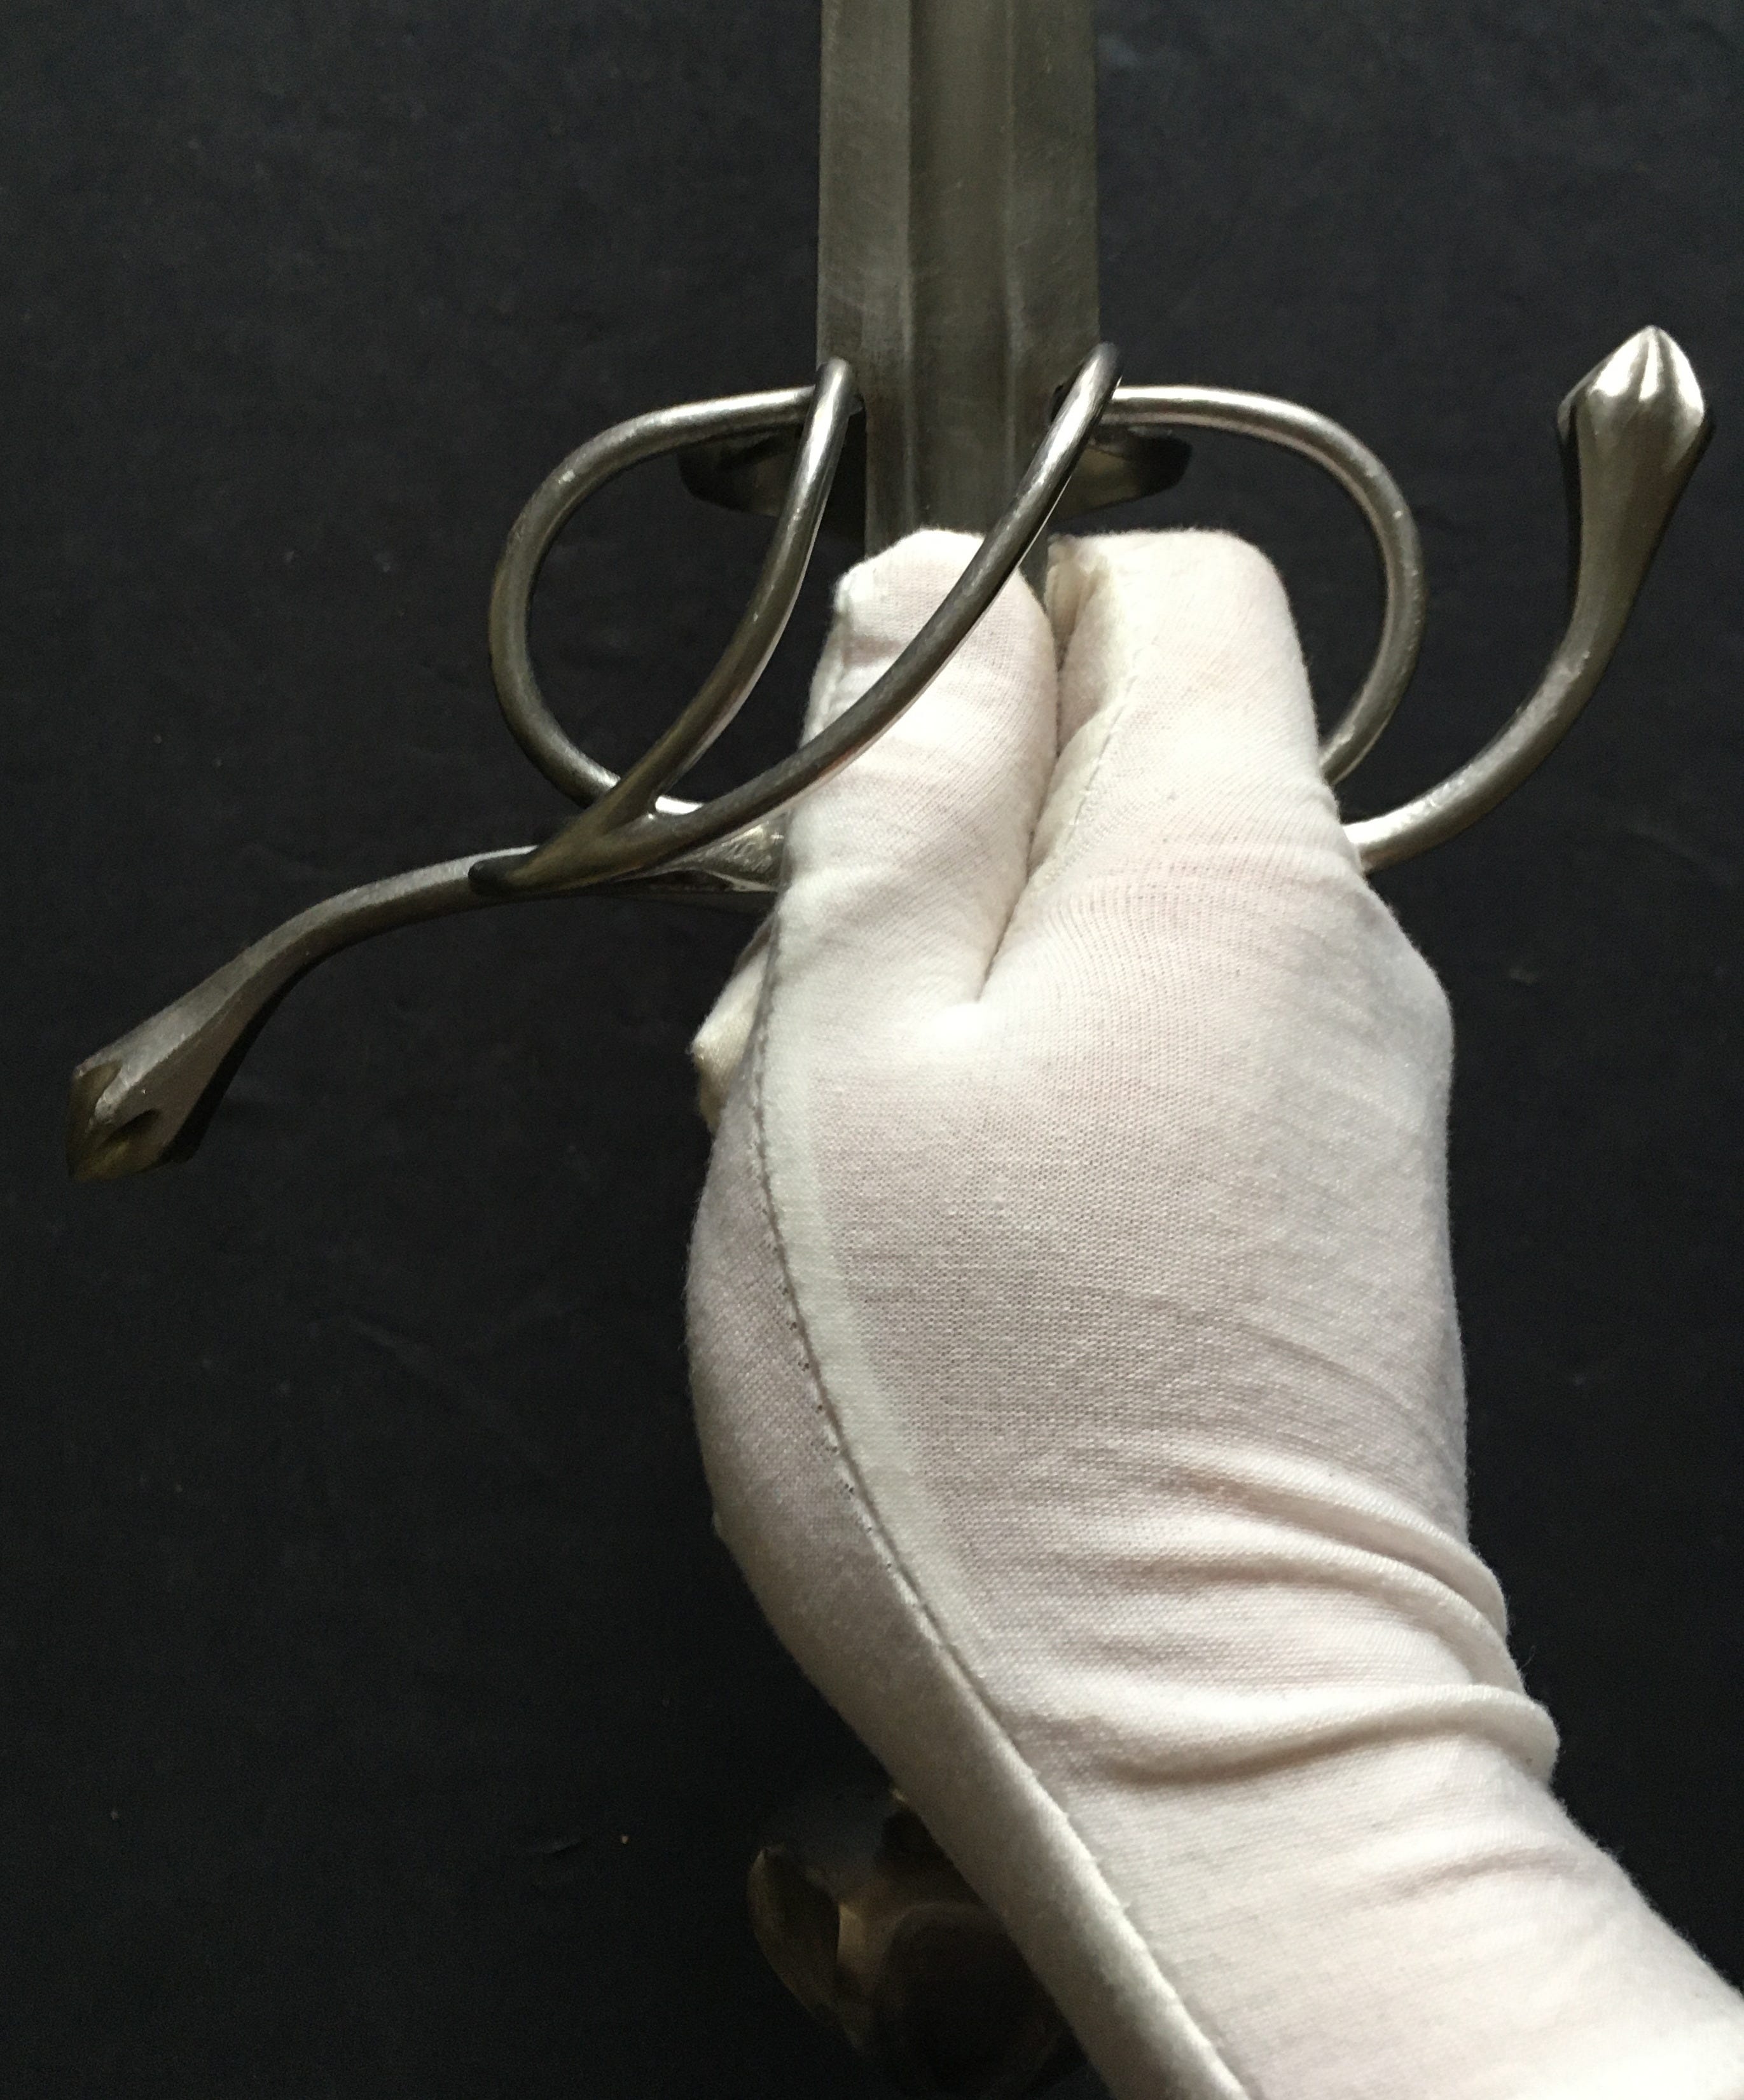
Pinch Grip
Start from the thumb grip, but wrap the index finger around the blade. Pinch the flat of the blade between the index finger and the thumb. This grip gives fine control over quick thrusts. The natural tendency of a sword to pivot forward will push the grip in your hand. Notice that the outer sweeps point downward, and eventual knuckle bows point to the left.
Variation: relaxed
Placing the thumb on the side quillons offers a more relaxed grip. The weight of the sword itself balances the grip. A famous fencing system that makes use of this grip is that of Thibault rapier, with this being named the Thibault grip.
Variation: quillon-block
As a variation, instead of pinching the ricasso, we perform the same grip at the level of the quillon block. This is a grip ideal for smallsword. A relaxed variation can be applied to it as well.
A Better Look
While I wanted to use the same sword as a way to validate which grips work for it, some swords are designed with particular grips in mind. I will now showcase the grips with swords designed for them. I will place my comments in the captions.


Closing Thoughts
For a lot of people, these grips are natural. Yet, I am willing to bet that few people have thought to try systematically all these grips on the same sword. I would recommend this as an exercise. You will find that some swords may work better than expected in a different role than initially designed for, or expected due to its look.
If nothing else, it will help explain why we see rapiers in late 1600s paintings of men on horseback, when the people of those times would probably use those swords in a cavalry pallasch role.